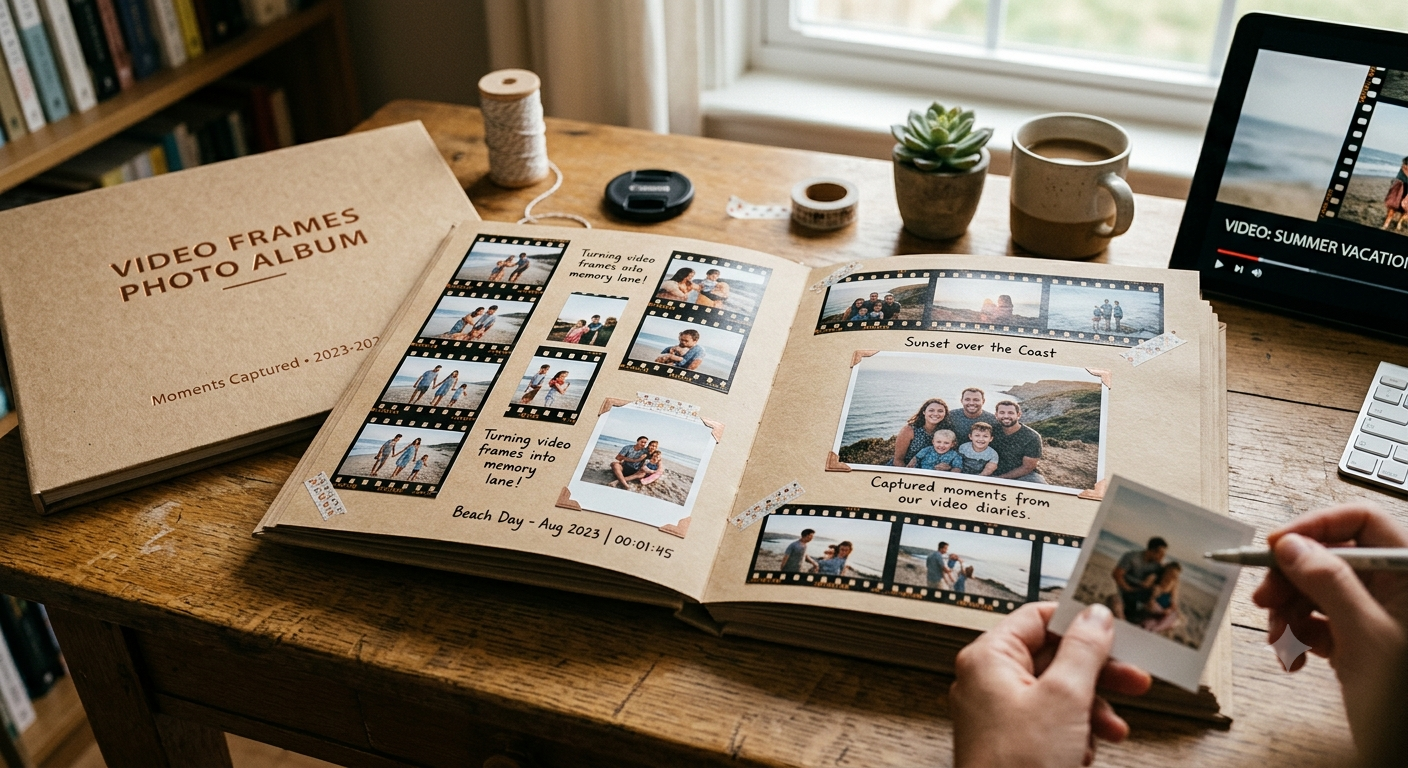
How to Turn Video Frames into a Photo Album
You can turn video frames into a photo album by extracting still images at high quality from your favorite moments, then organizing and printing or digitally arranging them the same way you would with regular photos.
Many meaningful moments end up captured only on video rather than as a photo a child's first steps, a candid laugh at a wedding, an unrepeatable moment from a trip and turning those into printable or shareable stills lets you preserve them in a photo album alongside your regular pictures. This guide covers the full process, from choosing the right moments to getting print-ready quality.
Review your video footage for standout moments
Go through your video files looking specifically for moments that would work well as a still image, rather than just memorable video clips generally. The best candidates usually have:
- A clear, in-focus subject, without significant motion blur
- Good lighting, since dim or harshly lit footage translates poorly to a still image
- An expressive or meaningful moment a genuine smile, an interesting interaction, a beautiful landscape shot
- Minimal camera shake at that specific point in the footage
It helps to watch each video at a slightly slower playback speed when scanning for candidates, since a great single-frame moment often lasts only a fraction of a second and is easy to miss at normal speed.
Extract each chosen frame at the highest quality
- Review your video footage for standout moments
- Extract each chosen frame at the highest quality
- From your original camera footage
- From video shared or saved from another source
- Do light touch-up editing
- Organize your selected frames
- Build the album physical or digital
- Checking resolution before printing
- Mixing video-derived stills with regular photos
- Conclusion
- FAQ
From your original camera footage
Whenever possible, extract from the original, unedited video file rather than a compressed copy shared elsewhere, since this preserves the most detail for printing or enlarging later.
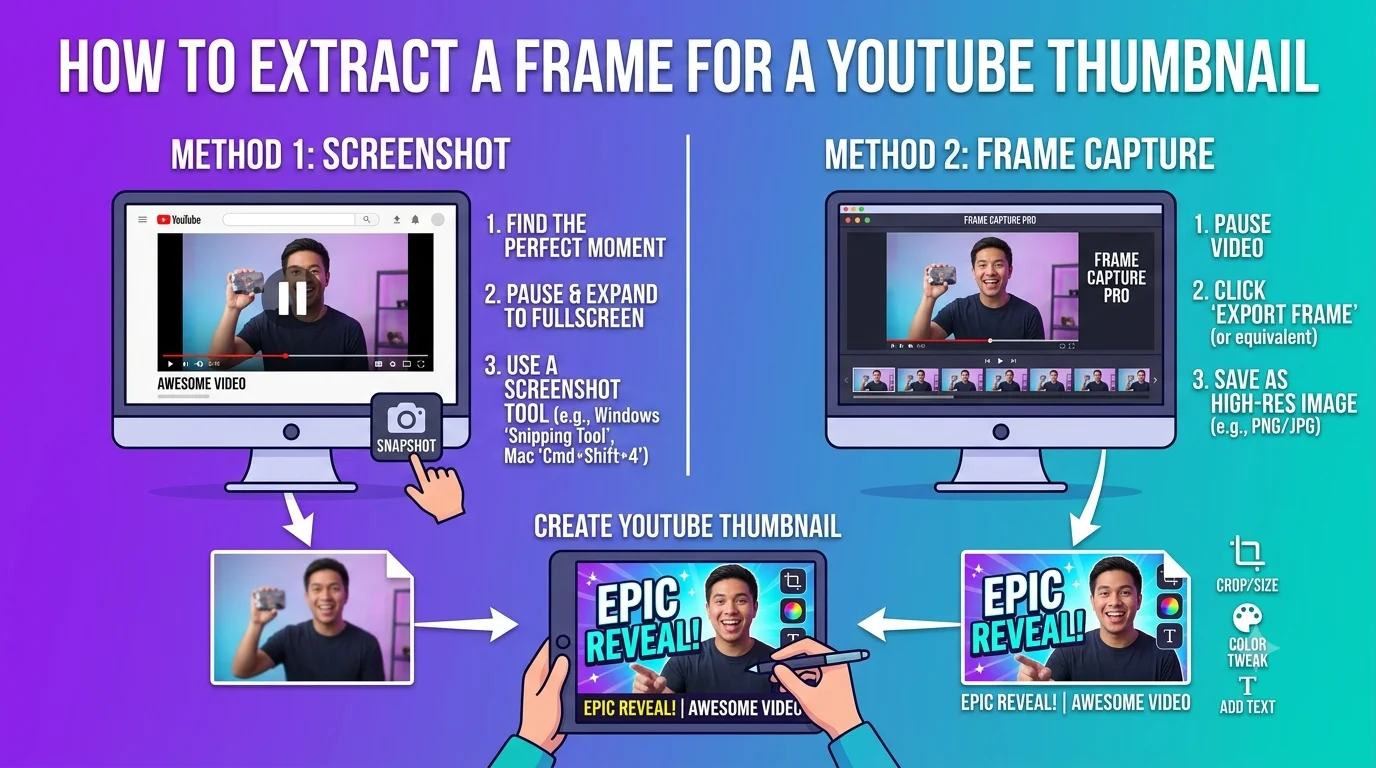
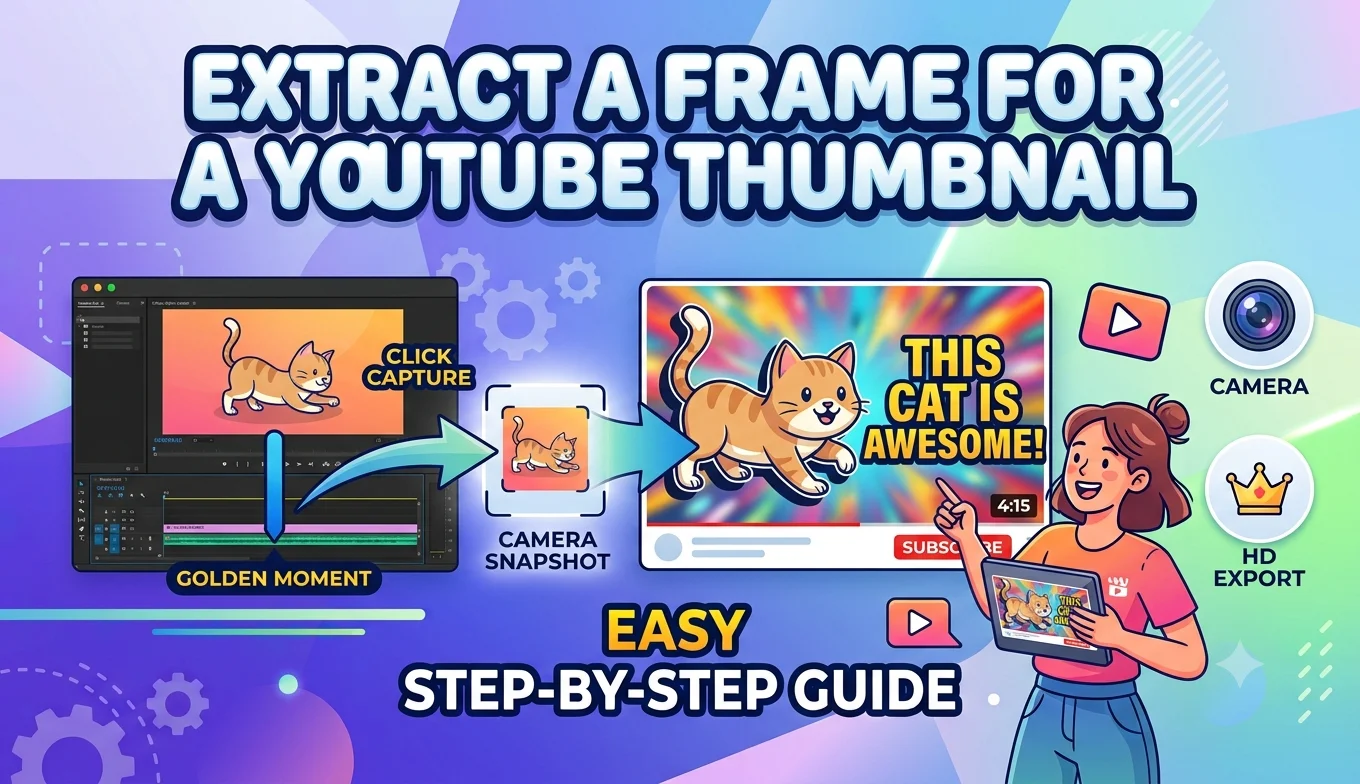
Open the file in a media player like VLC, pause at your chosen moment, and use frame-by-frame stepping to land precisely on the best possible frame before using the snapshot feature to save it.
From video shared or saved from another source
If you only have access to a version of the video that's been compressed or re-uploaded such as one downloaded from social media expect somewhat lower quality in the final extracted frame, since extraction can't recover detail lost during that earlier compression.
Do light touch-up editing
Once extracted, a few small edits often improve how a video-derived still looks compared to a regular photo:
- Slight contrast and brightness adjustment, since footage color-graded for video playback can look a little flat as a standalone still
- Cropping to a more traditional photo aspect ratio, if you plan to print the images, since video is often a different shape than standard photo prints
- Mild noise reduction, especially for footage captured in lower light, since video noise can be more noticeable in a still image than it was during motion
Organize your selected frames
Before building the album itself, organize your extracted frames the same way you would with a batch of regular photos:
- Group by event or timeframe, keeping related moments together.
- Remove near-duplicates, keeping only the strongest version of any given moment if you extracted a few similar frames while narrowing down the best one.
- Note the source and date if it's not already reflected in the file, especially useful for a family album spanning a long period of time.
Build the album physical or digital
Physical photo album or print service. Most photo printing services accept standard image files the same way whether they originated from a camera or a video frame extraction, as long as the resolution is high enough for the print size you want.
Recommended Articles
 CREATIVE USE CASES
 CREATIVE USE CASES
 CREATIVE USE CASES
 CREATIVE USE CASES
Digital photo album or shared gallery. Many photo organizing apps and shared family galleries work identically for video-derived stills as they do for regular photos, letting you mix both types of images together seamlessly in the same album.
- How to Find the Exact Frame Timestamp Using YouTube Subtitles
- How to Take a Scrolling Screenshot on Any Device
- How to Grab Frames in DaVinci Resolve
- Keyframe vs a Regular Frame
Checking resolution before printing
This is the step most worth double-checking if you're planning a physical print, since video resolution and typical photo print resolution don't always align the way people expect:
- A standard 4x6 inch print typically needs at least 1200 x 1800 pixels for a sharp result
- Larger prints need proportionally more resolution
- A frame extracted from lower-resolution video (720p or below) may look noticeably softer once printed at a larger size than it appeared on a screen
If a specific frame doesn't have enough resolution for your intended print size, either choosing a smaller print size for that image or looking for a higher-resolution version of the original footage are the two realistic options, since there's no way to add genuine detail back into a frame that wasn't captured in the original recording.
Mixing video-derived stills with regular photos
One of the nicest things about this approach is that once extracted, a video frame becomes just another image file, indistinguishable in a finished album from a photo taken with a camera. This means you can freely mix both types of images together in the same album without any special handling, letting you fill gaps in your photo collection with meaningful moments that only exist on video.
Conclusion
Turning video frames into a photo album is a genuinely worthwhile way to preserve moments that only exist on video, and the process comes down to carefully selecting expressive, well-lit, in-focus moments, extracting them at the highest available quality, and doing light touch-up editing before organizing them alongside your regular photos. Checking resolution against your intended print size early on saves disappointment later, since no editing step can add back detail that wasn't in the original recording.
FAQ
What resolution do I need for a video frame to print well?
At minimum, around 1200 by 1800 pixels for a standard 4x6 inch print, with larger prints requiring proportionally more resolution.
Can I mix video-derived stills with regular camera photos in the same album?
Yes, once extracted, a video frame is just a regular image file and can be organized and printed alongside camera photos with no special handling needed.
Why do some of my extracted frames look softer than my regular photos?
This usually reflects the source video's resolution and any motion blur present at that specific moment, since video frames generally contain less detail than a dedicated photo taken with a camera at the same moment.
Is it better to extract from the original video file or a copy shared on social media?
Always prefer the original file when available, since copies shared or re-uploaded elsewhere typically go through additional compression that reduces the detail available for extraction.
Can I fix a blurry extracted frame before printing it?
Some sharpening tools can slightly improve the appearance of a soft frame, but they can't fully recover genuine detail or fix significant motion blur choosing a naturally sharper moment from the footage is a more reliable solution when possible.