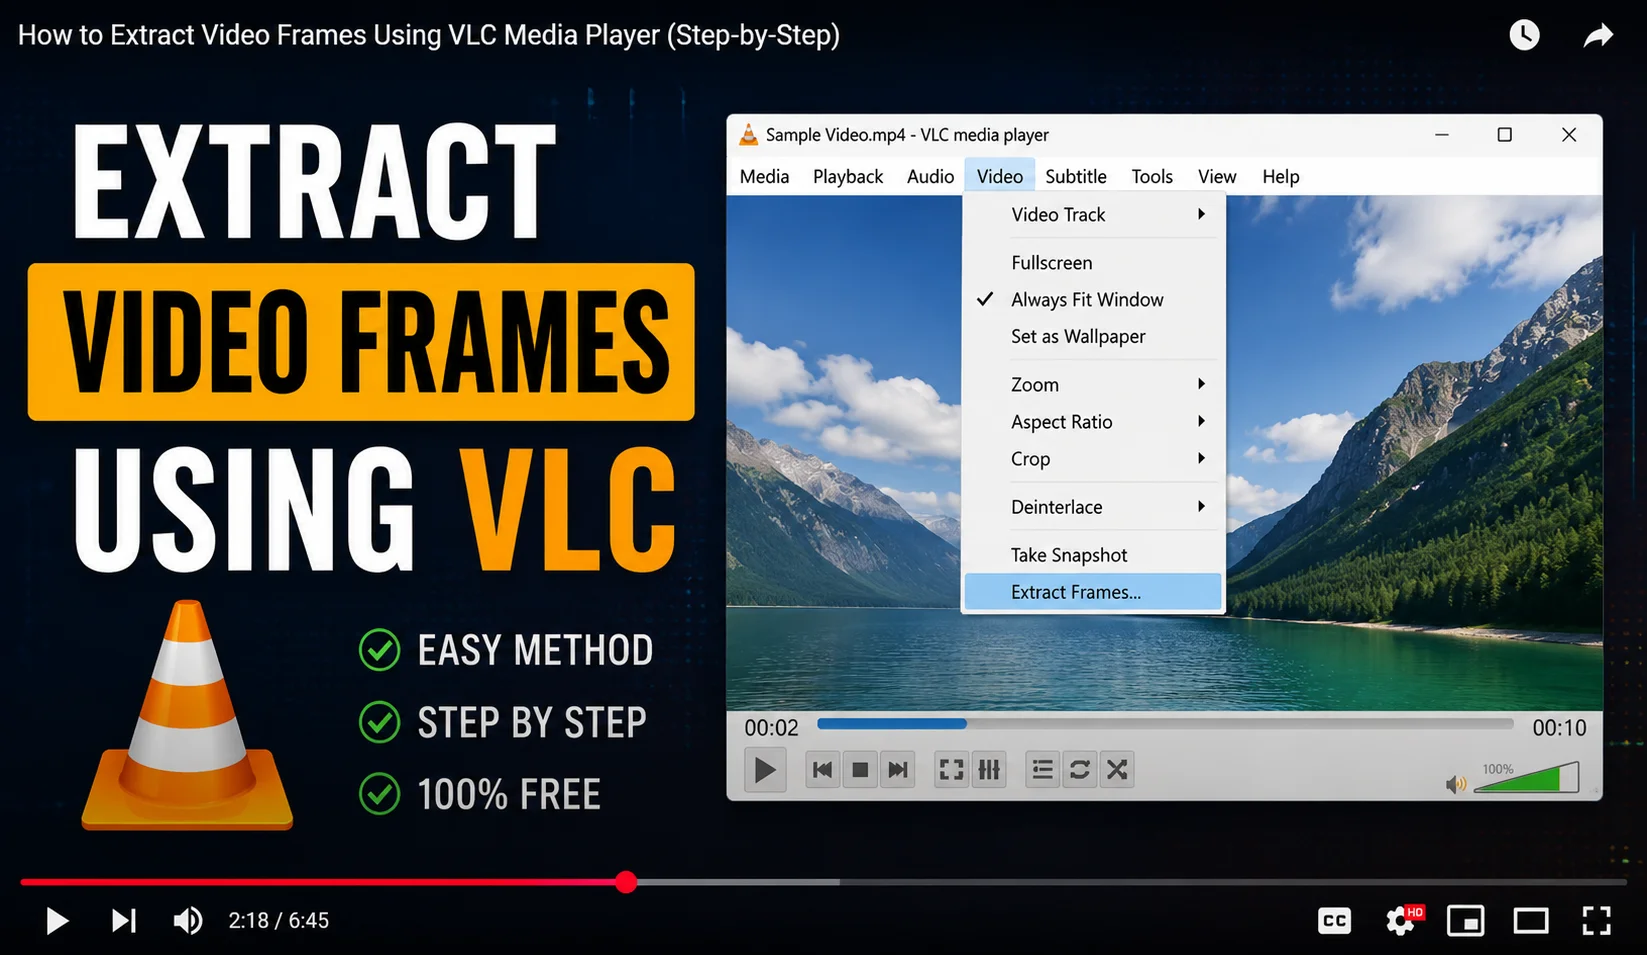
How to Extract Video Frames Using VLC Media Player
VLC Media Player can extract frames from any video file for free using its built-in snapshot feature, and it works identically on Windows, Mac, and Linux since VLC is completely cross-platform.
This is one of the most reliable frame-extraction methods because VLC plays almost every video format without needing a separate codec pack MP4, MKV, AVI, MOV, WebM, and dozens of less common formats all just work. This guide covers both grabbing a single frame and automatically extracting hundreds of frames at once, along with the settings people most often get stuck on.
Why use VLC for frame extraction?
There are plenty of online Frame Grabber, but VLC has a few advantages worth knowing:
- Completely offline. Your video never leaves your computer, which matters for private footage or large files that would be slow to upload.
- No file size limits. Online tools often cap upload size; VLC only cares about your computer's storage and RAM.
- Works with almost any format. VLC's built-in decoders handle formats that browsers and some online tools choke on.
- Free forever. No watermarks, no subscription, no daily extraction limits.
Before you start
- Why use VLC for frame extraction?
- Before you start
- Method 1: Snapshot a single frame
- 1. Open your video in VLC
- 2. Pause on the exact frame
- 3. Take the snapshot
- 4. Find your saved frame
- Method 2: Extract many frames automatically (Scene filter)
- Speeding up bulk extraction
- Common issues
- VLC vs. other extraction methods
- Conclusion
Download VLC free from the official VideoLAN website if you don't already have it installed. Avoid third-party download sites always get VLC from the official source to avoid bundled software or outdated, insecure builds.
Method 1: Snapshot a single frame
This is the method most people need grabbing one specific moment as an image.
1. Open your video in VLC
Launch VLC, then go to Media > Open File and select your video. You can also just drag and drop the video file directly onto the VLC window.
2. Pause on the exact frame
Play the video and pause it (spacebar) at the moment you want. Use E on Windows/Linux (or the Frame-by-Frame button under Playback) to step forward one frame at a time for precise positioning. On Mac, the same frame-by-frame stepping is available under the Playback menu.
If you already know roughly where your moment is, you can jump to a specific time using Playback > Jump to Specific Time (Cmd/Ctrl + T), then fine-tune with frame-by-frame stepping from there.
3. Take the snapshot
Go to Video > Take Snapshot, or use the keyboard shortcut Shift+S. VLC saves the frame as a PNG image instantly there's no export dialog, no waiting, just an immediate save.
4. Find your saved frame
By default, VLC saves snapshots to your Pictures folder (Windows) or Home > Pictures (Mac/Linux). You can change this location in Tools > Preferences > Video > Snapshot directory this is worth setting up front if you're planning to extract a lot of frames, so they land in one organized folder.
Method 2: Extract many frames automatically (Scene filter)
If you need dozens or hundreds of frames for a storyboard, a time-lapse, or dataset creation VLC's Scene Video Filter automates the process so you don't have to pause and snapshot manually over and over.
- Go to Tools > Preferences, then click Show settings: All at the bottom left (this reveals VLC's full, advanced settings panel).
- Navigate to Video > Filters, and check Scene Video Filter.
- Expand Video > Filters > Scene Filter and set:
- Directory path prefix: where to save frames
- Image format: png or jpg
- Recording ratio: how many frames to skip between captures (lower = more frames; a value of 25 on a 25fps video captures roughly one frame per second)
- Prefix and Width/Height: optional filename prefix and resize settings if you want smaller output images
- Click Save, then play the video. VLC extracts frames automatically in the background as it plays you'll see files appearing in your chosen folder in real time.
- Once done, return to preferences and uncheck the filter so normal playback isn't affected going forward. Forgetting this step is the most common reason people end up with thousands of unwanted frame files from every video they watch afterward.
Speeding up bulk extraction
If you're extracting from a long video and don't need to watch it in real time, you can speed up playback (up to 2x or higher under the speed controls) while the Scene filter is active VLC will still capture frames at the ratio you set, just faster overall, since it processes frames as they decode rather than in real wall-clock time.
Recommended Articles
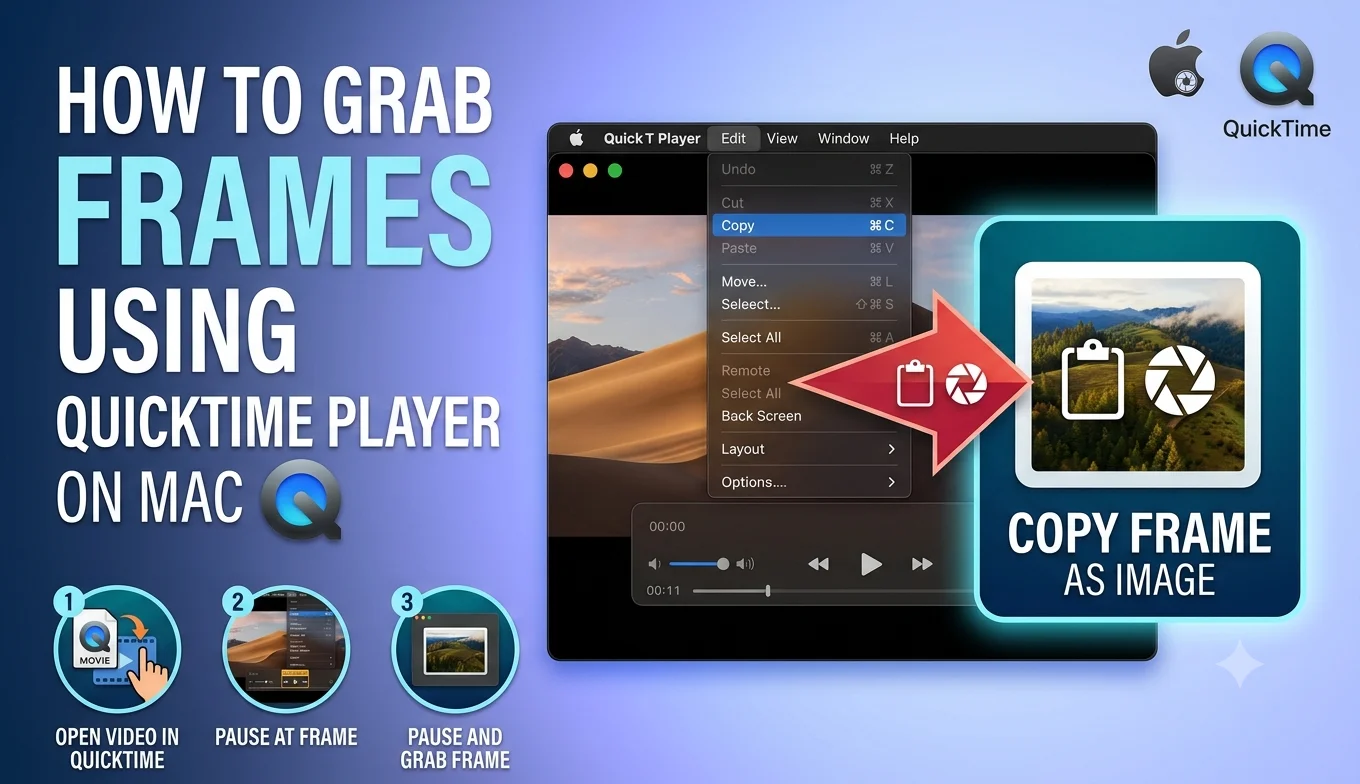 SOFTWARE TUTORIALS
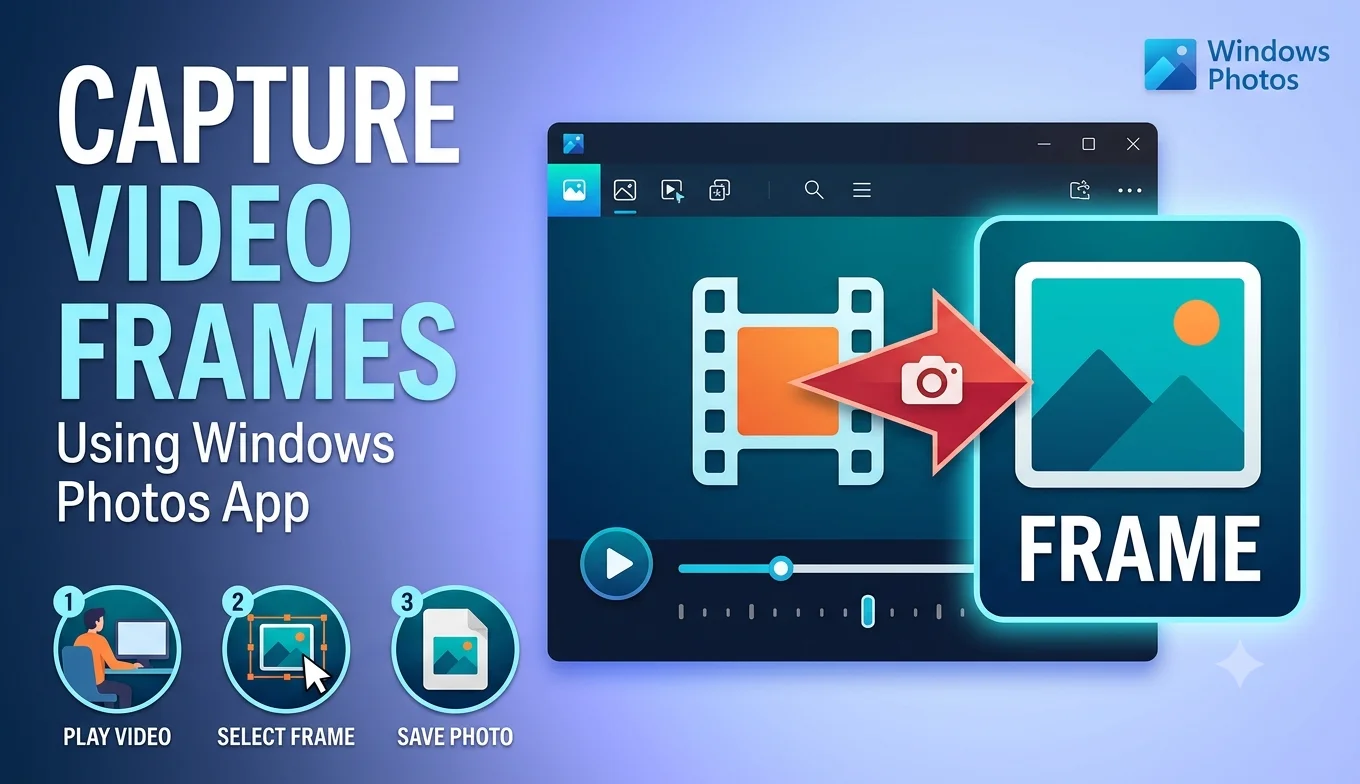 SOFTWARE TUTORIALS
SOFTWARE TUTORIALS
SOFTWARE TUTORIALS
 SOFTWARE TUTORIALS
Common issues
Snapshot button is grayed out or does nothing. This usually means the video is still buffering or DRM-protected (some encrypted Blu-ray or streaming-service downloads block frame capture entirely). Try a different file or format to confirm it's not a settings issue.
Frames are saved but I can't find them. Check Tools > Preferences > Video > Snapshot directory VLC may be saving to a folder you're not expecting, especially if you or a previous install changed it at some point.
Extracted frame quality looks lower than the video. VLC captures at the video's native decoded resolution, so quality should match what you see on screen. If it looks soft, check that hardware acceleration isn't downscaling playback try Tools > Preferences > Input/Codecs and disable hardware-accelerated decoding, then re-test. Some GPUs handle hardware decoding at reduced internal resolution for performance, which can subtly affect snapshot sharpness.
Scene filter isn't producing any files. Double-check the directory path exists and that VLC has write permission to it a nonexistent or read-only folder will silently fail rather than showing an error.
Too many frames were extracted. Increase the "Recording ratio" value in the Scene Filter settings a higher number means VLC waits longer between captures, producing fewer total images.
VLC vs. other extraction methods
| Method | Best for | Limitation |
|---|---|---|
| VLC snapshot | Precise single frames from local files | Manual, one at a time |
| VLC Scene filter | Bulk extraction from local files | Requires digging into advanced settings |
| Online frame grabber | Quick single frames, no install | Upload limits, needs internet |
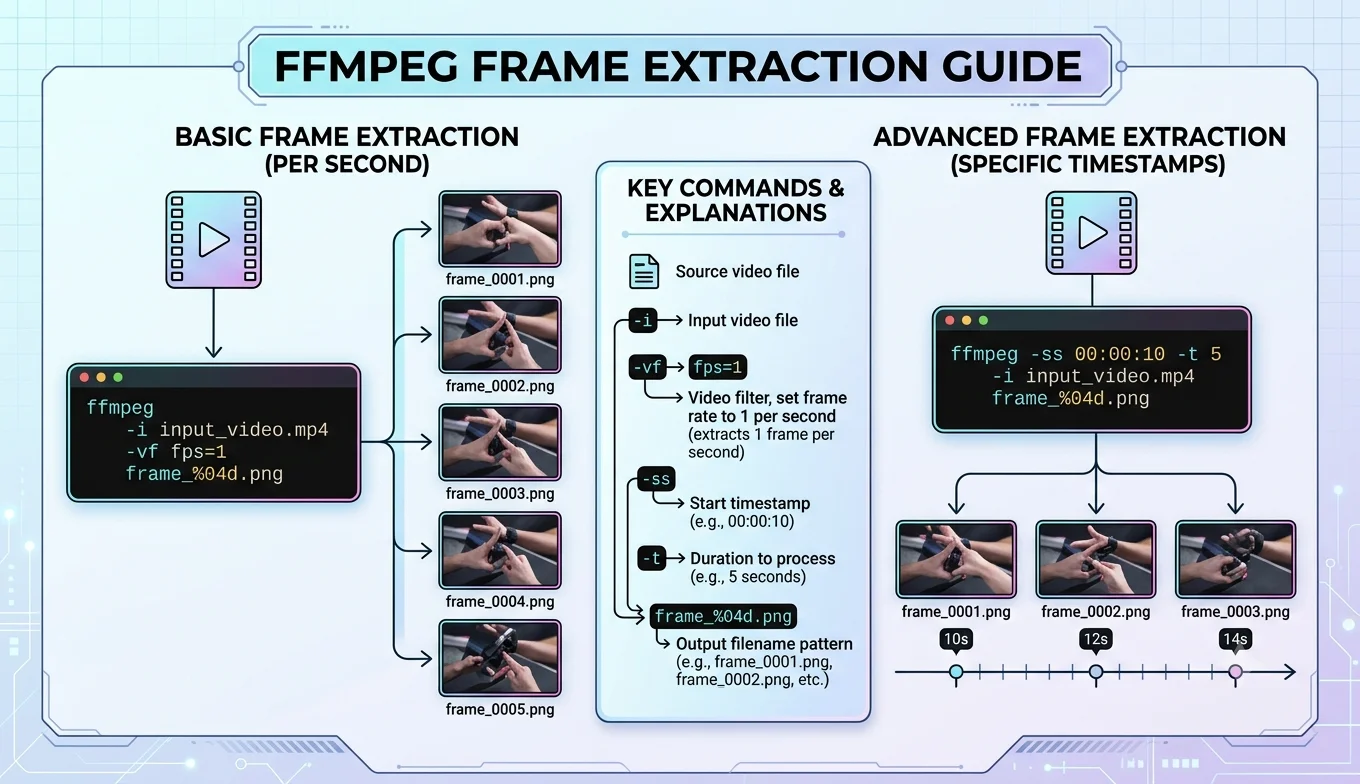
| FFmpeg command line | Automated, scriptable bulk extraction | Requires comfort with command line |
VLC sits in a comfortable middle ground more powerful and private than online tools, but far more approachable than command-line tools like FFmpeg for anyone who isn't already comfortable with a terminal.
Conclusion
VLC is one of the most dependable ways to pull frames from a video, whether you need a single precise snapshot or hundreds of frames extracted automatically through the Scene filter. It's free, works offline, handles nearly every video format, and never adds watermarks. For most people, the Shift+S snapshot shortcut covers everyday needs, while the Scene filter is worth setting up the moment a project calls for bulk extraction.
Is VLC frame extraction free?
Yes, VLC is completely free and open-source with no watermarks on extracted frames, and no limit on how many frames or videos you process.
Can VLC extract frames from a livestream?
Only if you're playing a recording of the stream, not a live feed. Record the stream first, then extract frames from the saved file VLC can also record a stream directly using View > Advanced Controls for a record button, if you want to capture the livestream itself for later extraction.
What image formats can VLC export frames as?
PNG (lossless, larger file) and JPG (compressed, smaller file) are both supported in the snapshot settings, and you can switch between them at any time in preferences.
Does VLC add a watermark to extracted frames?
No VLC never adds any watermark, branding, or metadata overlay to snapshots. What you capture is exactly what was in the source video.
Can I extract a frame at a specific resolution different from the source video?
Yes, using the Scene Filter's Width/Height settings you can resize frames during extraction, though upscaling beyond the source resolution won't add real detail it will just stretch the existing pixels.