How to Extract Frames from Video Using Adobe Premiere Pro
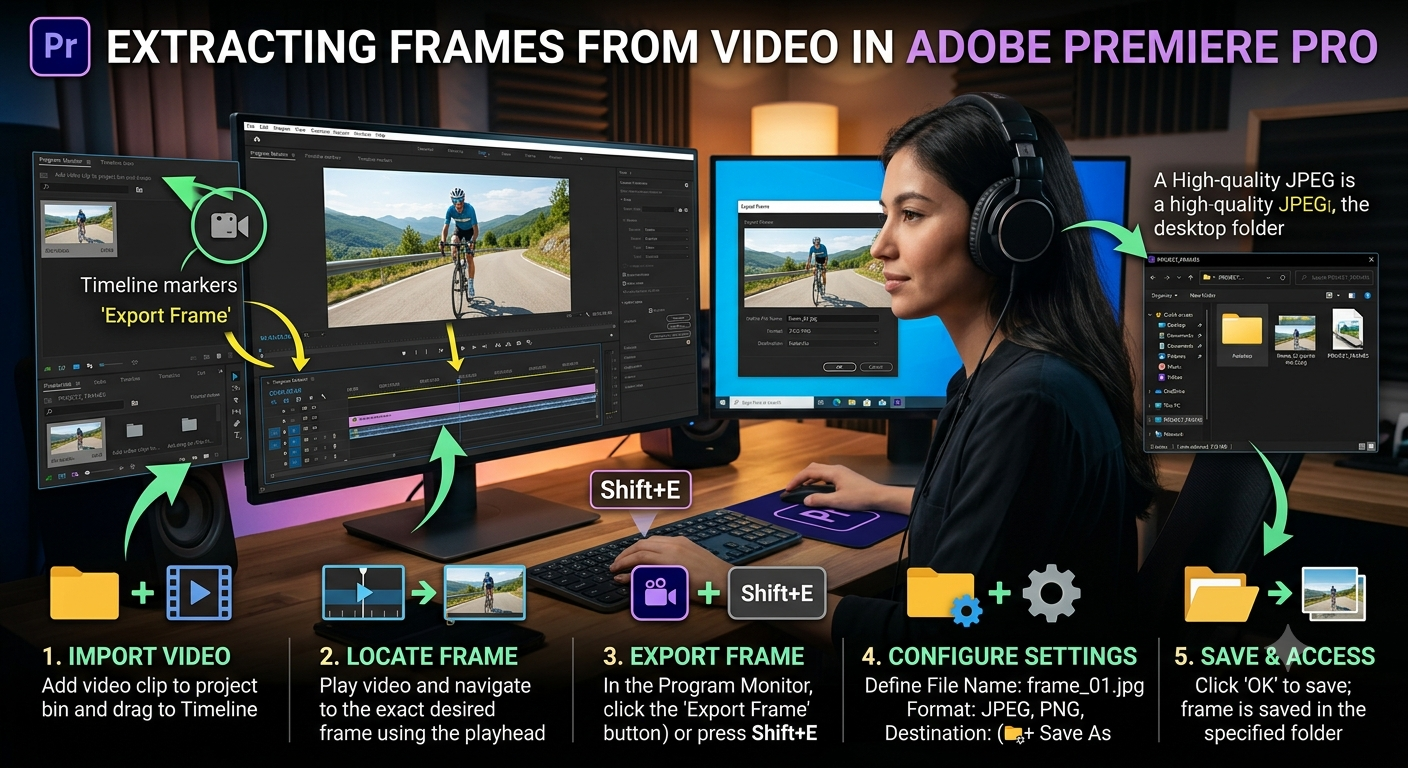
Adobe Premiere Pro can export a single frame from any clip in your timeline using its built-in Export Frame feature, giving you a precise, high-quality still image directly from your professional editing workflow without needing a separate tool.
For anyone already editing in Premiere Pro, this built-in feature is by far the most convenient way to grab a frame, since it works directly within the same project you're already working in, using the exact same source files and color settings. This guide covers the full process along with a few Premiere-specific tips for getting the cleanest possible export.
Why extract frames directly in Premiere Pro
If you're already editing a project in Premiere Pro, extracting frames within the same software has real advantages over switching to a separate tool:
- Same color grading and effects applied. If you've already color-corrected or applied effects to your clip, the exported frame reflects those changes, rather than showing the raw, unedited source footage.
- Precise timeline navigation. Premiere's frame-by-frame stepping and timecode display make it easy to land on an exact frame with complete precision.
- No quality loss from format conversion. Since you're working directly with your project's native footage, there's no additional compression step introduced by exporting to a different tool first.
Exporting a single frame
- Why extract frames directly in Premiere Pro
- Exporting a single frame
- 1. Position your playhead on the exact frame
- 2. Open the Export Frame option
- 3. Configure your export settings
- 4. Export
- Extracting multiple frames
- Getting the best quality from your export
- Common issues and fixes
- When to use Premiere Pro versus a simpler tool
- Conclusion
- FAQ
1. Position your playhead on the exact frame
In your Premiere Pro timeline, move the playhead to the frame you want to export. Use the left and right arrow keys to step one frame at a time for precise positioning, watching the timecode display to confirm you're on the exact frame you intended.
- How to Save a Frame from an Instagram Reel
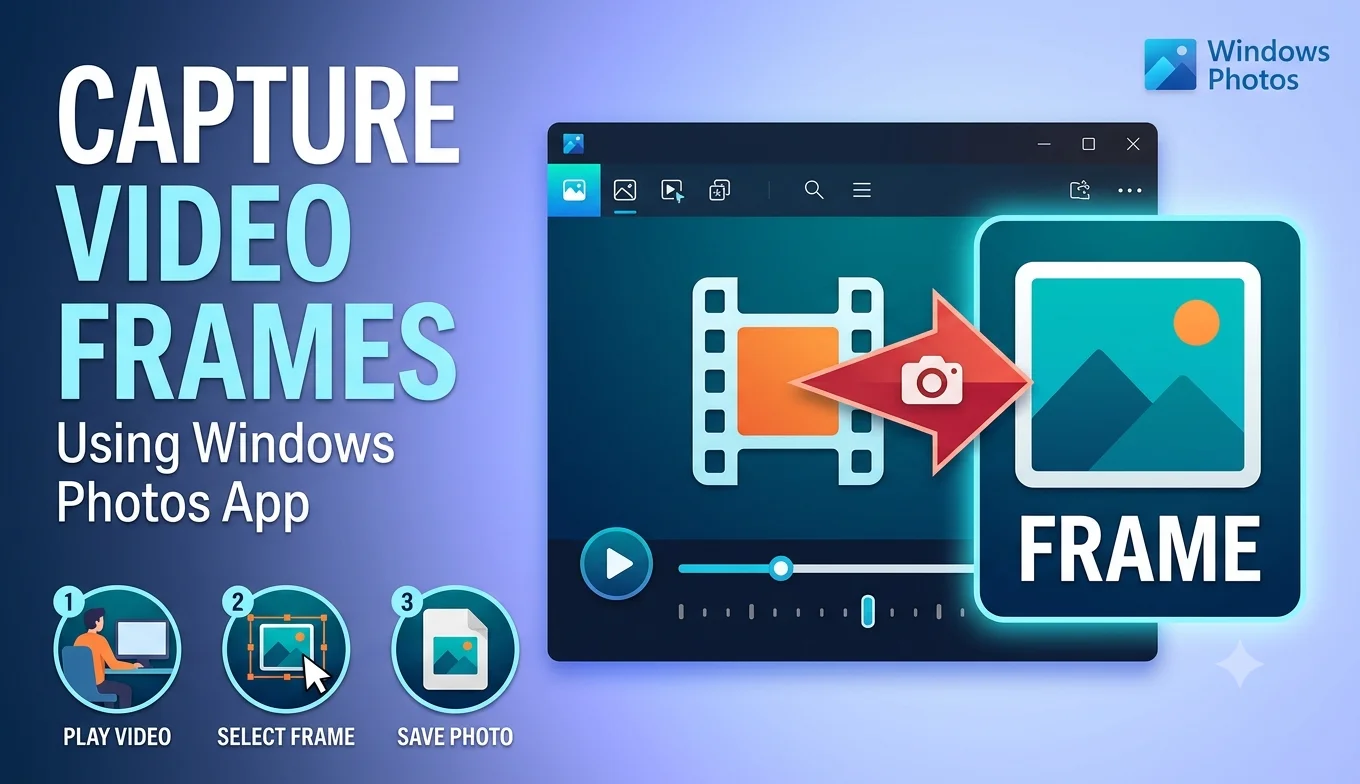
- How to Capture Video Frames Using Windows Photos App
- How to Download a YouTube Thumbnail in Full Resolution
- Video Resolution Explained: 720p vs 1080p vs 4K
2. Open the Export Frame option
With your playhead positioned correctly, go to the File menu, then Export, then Frame. This opens a dedicated export dialog specifically for single-frame exports, separate from Premiere's full video export settings.
3. Configure your export settings
The Export Frame dialog lets you set:
- File name, which you can customize before exporting
- Format, typically choosing between options like JPEG, PNG, TIFF, BMP, or others depending on your needs — PNG or TIFF for lossless quality, JPEG for smaller file sizes
- Path, the folder where the exported frame will be saved
4. Export
Click OK, and Premiere immediately saves the frame to your chosen location at your project's native resolution, reflecting any color correction or effects currently applied to that clip.
Extracting multiple frames
Premiere Pro's Export Frame feature is built for one frame at a time, so for extracting many frames from the same clip, a couple of approaches work:
Repeat the process manually for each frame you need, which is straightforward but time-consuming for a large number of frames.
Use the Media Encoder's image sequence export, which can export your entire timeline or a selected range as a full sequence of individual frame images, one file per frame, useful when you genuinely need every frame from a section rather than a handful of specific moments.
Getting the best quality from your export
Choose PNG or TIFF over JPEG when quality matters most, since these formats don't introduce the additional compression that JPEG does, which matters if you plan to edit or print the frame afterward.
Recommended Articles
 SOFTWARE TUTORIALS
 SOFTWARE TUTORIALS
SOFTWARE TUTORIALS
SOFTWARE TUTORIALS
 SOFTWARE TUTORIALS
Make sure your sequence settings match your footage's actual resolution. If your Premiere Pro sequence is set to a lower resolution than your source footage, the exported frame will be limited to that lower sequence resolution rather than your footage's full native quality.
Double-check any applied effects or color grading before exporting. Since the export reflects whatever is currently applied to that clip on your timeline, reviewing your edits beforehand ensures the exported frame looks exactly as intended.
- How to Extract a Frame for a YouTube Thumbnail
- Best Free vs Paid Frame Grabber Tools Compared
- How to Screenshot on iPhone (All iOS Versions)
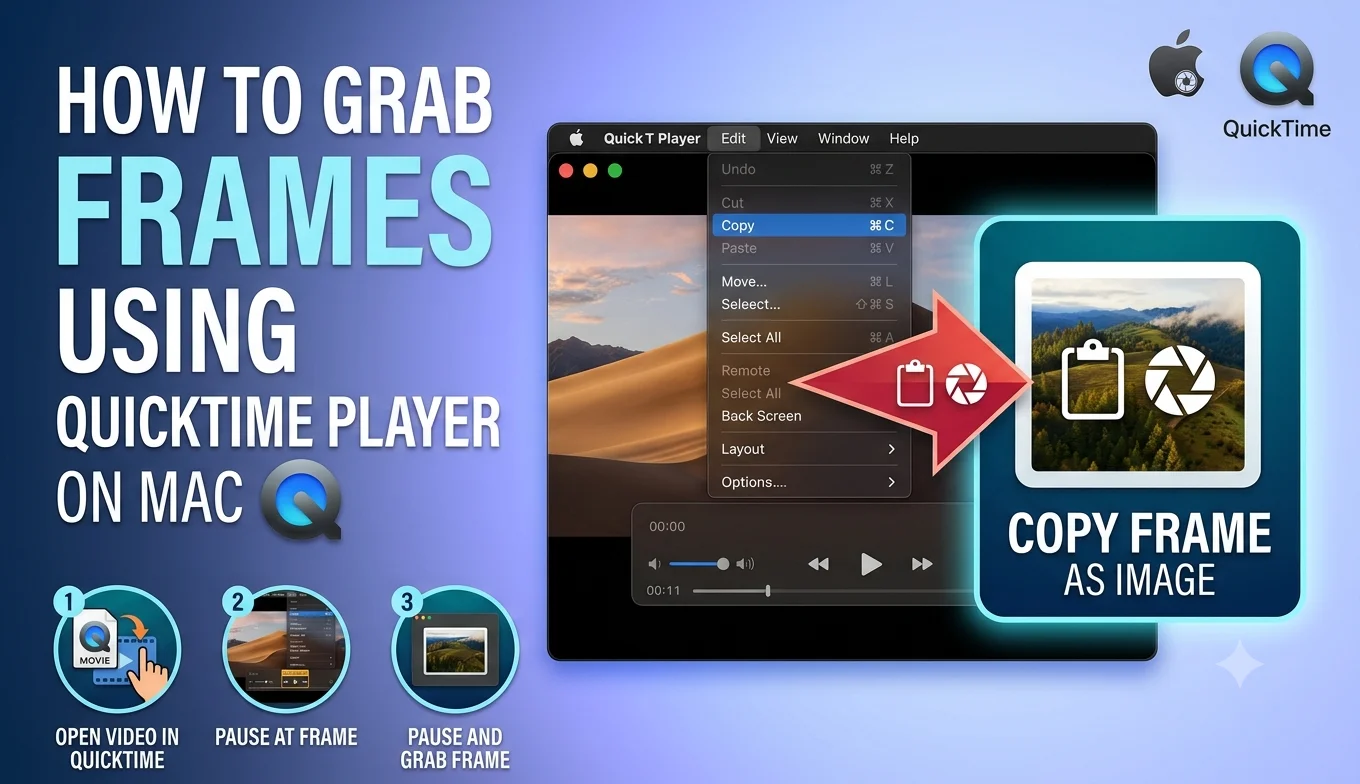
- How to Grab Frames Using QuickTime Player on Mac
Common issues and fixes
The exported frame doesn't match what I see in the program monitor. This can happen if your program monitor's quality setting is set to a lower preview resolution than full check that it's set to Full resolution rather than a reduced preview setting before exporting for the most accurate result.
The frame looks different in color from my raw footage. This is expected if you've applied color correction or effects to the clip the export intentionally reflects your current edits, not the original unedited source.
Export Frame option is grayed out or unavailable. Confirm your playhead is actually positioned within a clip on the timeline, rather than in an empty gap, since the feature requires an active frame to export from.
The file size of my exported frame seems very large. This is normal for TIFF or high-quality PNG exports at high resolution switch to JPEG if a smaller file size matters more than absolute lossless quality for your specific use.
When to use Premiere Pro versus a simpler tool
Premiere Pro's frame export is the clear choice if you're already editing in the software and want the frame to reflect your current color grading and effects. For quick, one-off extraction from a video you're not otherwise editing, a simpler free tool like VLC is often faster, since it avoids the overhead of opening and setting up a full editing project just to grab one frame.
Conclusion
Extracting a frame in Premiere Pro is a natural fit if you're already working within an editing project, since it preserves any color correction and effects you've applied and gives you precise, professional-grade control over the export. For simple one-off extraction outside an existing edit, a lighter tool may be faster, but for anyone deep in a Premiere Pro workflow, the built-in Export Frame feature is hard to beat for both convenience and quality.
FAQ
Does Premiere Pro's exported frame include applied effects and color grading?
Yes, the export reflects exactly what's currently applied to that clip on your timeline, not the raw, unedited source footage.
What file format should I choose when exporting a frame in Premiere Pro?
PNG or TIFF for the best lossless quality, especially if you plan to edit the image further, or JPEG if a smaller file size matters more than maximum quality.
Can I export multiple frames at once in Premiere Pro?
The Export Frame feature handles one frame at a time, but Adobe Media Encoder can export an image sequence covering an entire range if you need many frames from the same section.
Why does my exported frame look lower resolution than my source footage?
Check your sequence settings if your Premiere Pro sequence resolution is lower than your source footage's native resolution, exports will be limited to that lower sequence setting.
Is Premiere Pro overkill just for extracting a single frame?
If you're not already editing in Premiere Pro for another reason, a simpler free tool like VLC is generally faster for a quick, one-off frame extraction.