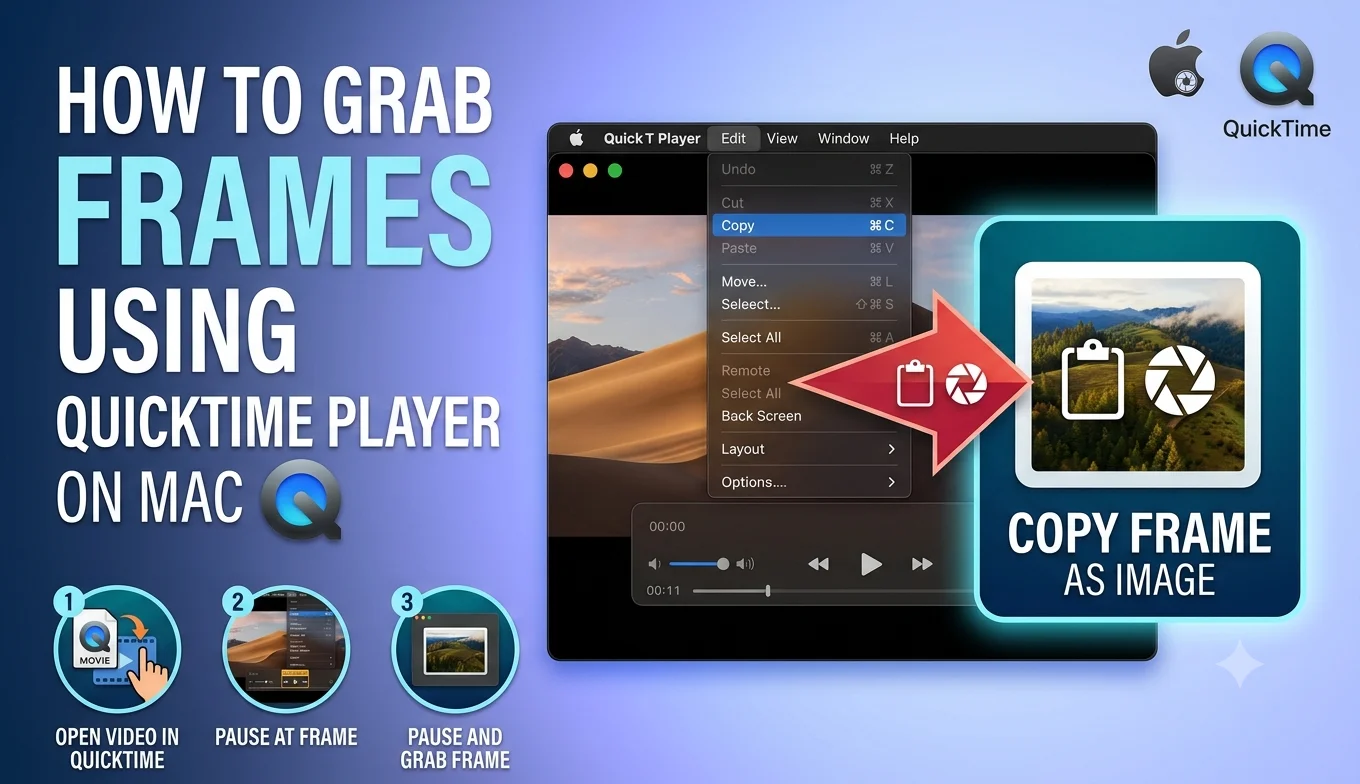
How to Grab Frames Using QuickTime Player on Mac
QuickTime Player, the video app built into every Mac, can extract a still frame from any video by pausing at the exact moment you want and exporting that frame as an image, using nothing more than the app that's already installed.
Because it comes preinstalled, QuickTime is often the fastest path for Mac users who just need an occasional frame without downloading anything new. This guide covers the full process, along with a couple of lesser-known QuickTime features that make frame extraction more precise.
Why QuickTime is a solid starting point on Mac
QuickTime has a few genuine advantages worth knowing before reaching for a separate tool:
- Already installed. No download, no setup, no learning a new interface.
- Clean, simple controls. The interface is minimal, which makes it easy to use even if you've never touched it before.
- Reliable format support. It handles the most common video formats, including MP4 and MOV, without issue.
Its main limitation compared to a dedicated frame grabber is precision QuickTime doesn't offer true frame-by-frame stepping the way some specialized tools do, though a close workaround exists and is covered below.
- How to Save a Frame from an Instagram Reel
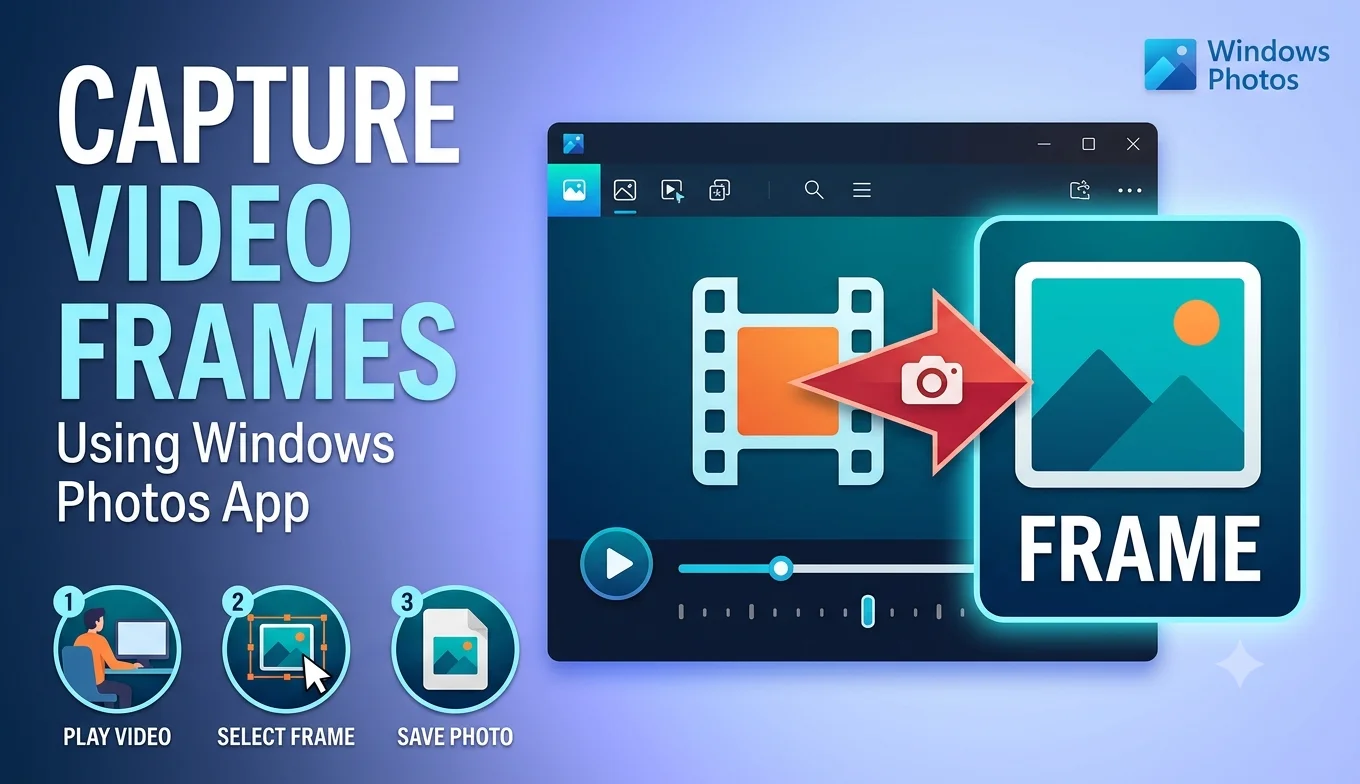
- How to Capture Video Frames Using Windows Photos App
- How to Download a YouTube Thumbnail in Full Resolution
- Video Resolution Explained: 720p vs 1080p vs 4K
Extracting a frame with QuickTime
- Why QuickTime is a solid starting point on Mac
- Extracting a frame with QuickTime
- 1. Open your video
- 2. Play and pause at your chosen moment
- 3. Copy the current frame
- 4. Paste into an image editor and save
- An alternative method: screen recording plus playback
- Getting the best quality frame from QuickTime
- Common issues and fixes
- When to switch to a more dedicated tool
- Conclusion
- FAQ
1. Open your video
Right-click the video file in Finder, choose Open With, and select QuickTime Player. Alternatively, open QuickTime Player first, then choose File, then Open File, and browse to your video.
2. Play and pause at your chosen moment
Press the spacebar to play the video, and press it again to pause at the point you want. Use the left and right arrow keys to nudge forward or backward in small increments once you're close to your target moment, which gives you finer control than dragging the timeline scrubber.
3. Copy the current frame
With the video paused at your chosen moment, press Command and C together, or go to Edit, then Copy, to copy the current frame to your clipboard as an image.
4. Paste into an image editor and save
Open Preview (also built into every Mac) or any other image editor, create a new document from your clipboard by pressing Command and N, and the copied frame will appear as a new image. From there, save it as a PNG or JPG file wherever you'd like.
An alternative method: screen recording plus playback
If you need more precision than QuickTime's basic pause-and-copy approach allows, a slightly different workflow using QuickTime's own screen recording feature can help:
- Open QuickTime Player and choose File, then New Screen Recording.
- Record your Mac's screen while playing the video slowly through the section you're interested in.
- Open the resulting screen recording in QuickTime.
- Since it's now a local video file, use the standard pause-and-copy method above, or open it in a tool like VLC that offers frame-by-frame stepping for more exact positioning.
This extra step is only necessary if the built-in pause-and-copy approach isn't landing you precisely enough on tricky, fast-moving footage.
Getting the best quality frame from QuickTime
Start with the original file whenever possible. If you have both the original camera footage and a version that's been compressed or shared elsewhere, always extract from the highest-quality original.
Recommended Articles
 SOFTWARE TUTORIALS
SOFTWARE TUTORIALS
SOFTWARE TUTORIALS
 SOFTWARE TUTORIALS
 SOFTWARE TUTORIALS
Avoid extracting during fast motion. Motion blur is part of the original recording itself, not something QuickTime introduces, so choosing a relatively still moment produces a noticeably cleaner result.
Check the final image at full size. Preview's default view can sometimes make an image look sharper or softer than it actually is at 100% zoom always double-check the exported file at its true resolution before using it elsewhere.
- How to Extract a Frame for a YouTube Thumbnail
- Best Free vs Paid Frame Grabber Tools Compared
- How to Screenshot on iPhone (All iOS Versions)
Common issues and fixes
Copy and paste isn't working. Make sure the video is actually paused, not just very slow-playing, since QuickTime's copy function captures the currently displayed frame, and a still-playing video can produce an inconsistent result.
The pasted image looks smaller than expected. This usually reflects the actual resolution of your source video rather than an error in the copy process check your original file's resolution if the pasted frame seems unexpectedly small.
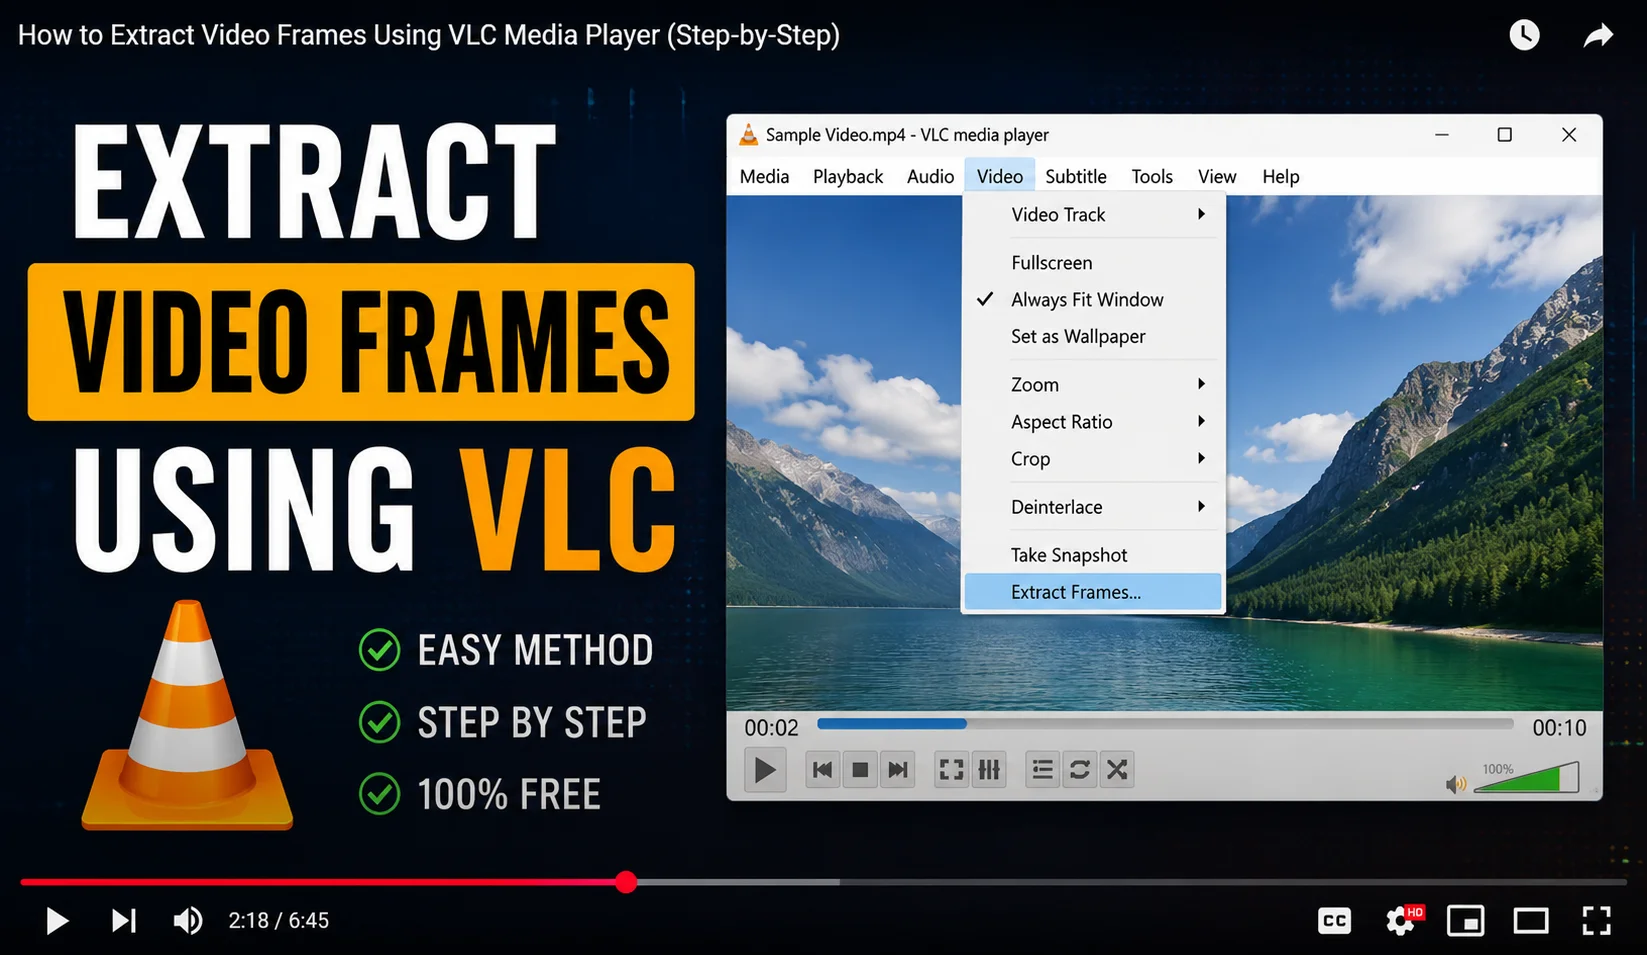
QuickTime won't open my video file. QuickTime supports common formats well but can struggle with some less common or older codecs. In this case, opening the same file in VLC, which supports a much broader range of formats, is a reliable fallback.
The exported frame has a different aspect ratio than expected. Some videos include additional metadata about their intended display size that doesn't always translate perfectly through copy and paste cropping the final image to your intended ratio in an image editor resolves this cleanly.
When to switch to a more dedicated tool
QuickTime covers most casual, occasional frame-grabbing needs well, but consider switching to VLC or a similar dedicated tool if:
- You need true frame-by-frame stepping for very precise positioning
- You want to extract many frames from the same video without repeating the manual process each time
- You're working with a video format QuickTime doesn't support well
Conclusion
QuickTime Player is a genuinely convenient way to grab an occasional frame on Mac, since it's already installed and the pause-copy-paste process takes only a minute once you're familiar with it. Its main limitation is precision compared to tools built specifically for frame extraction, but for casual, everyday use, it's often all you need without downloading anything extra.
FAQ
Does QuickTime add a watermark to extracted frames?
No, QuickTime never adds any watermark or branding to frames copied and saved this way.
Can QuickTime extract multiple frames automatically?
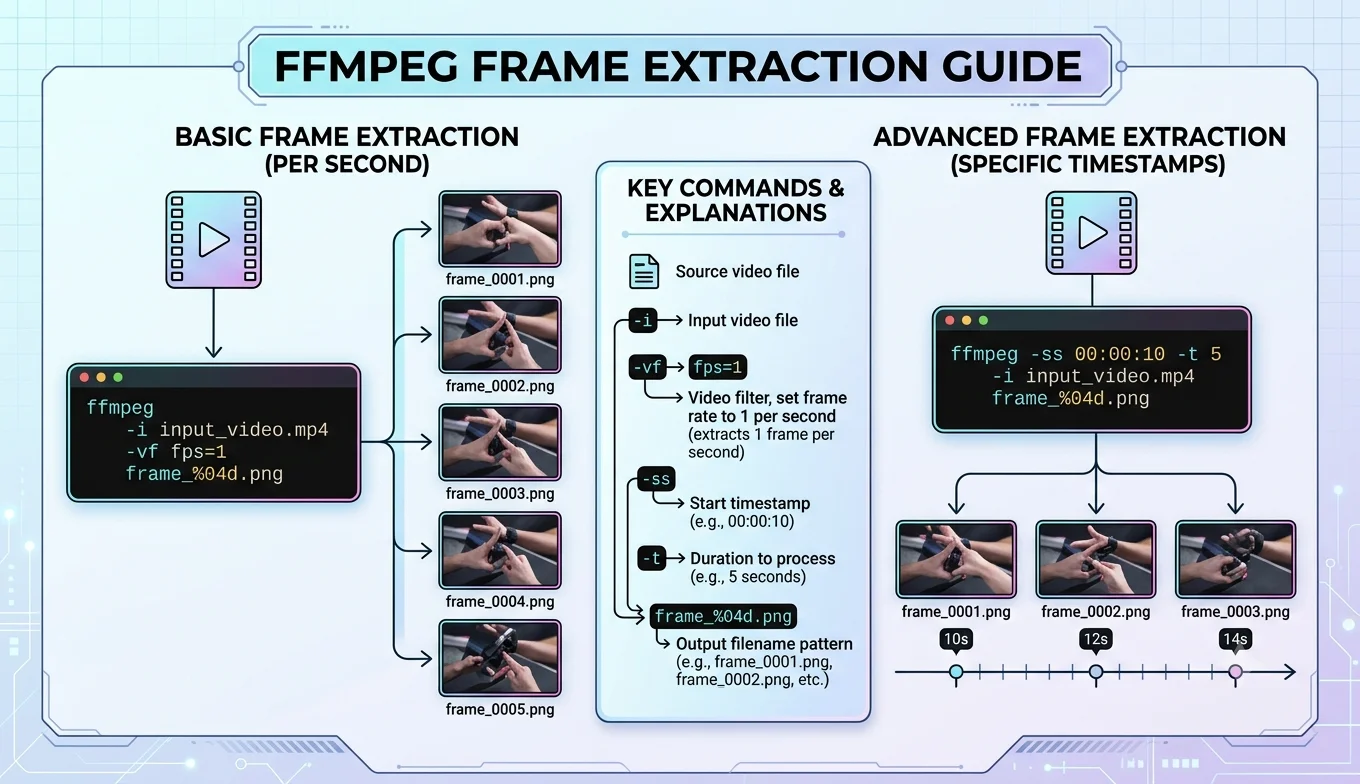
No, QuickTime only supports manually pausing and copying one frame at a time for automated bulk extraction, a tool like VLC's Scene filter or FFmpeg is a better fit.
Why is my copied frame lower resolution than my video?
This can happen if your video player window itself was resized smaller on screen, since some copy methods can be affected by display scaling try maximizing the QuickTime window before copying, or use a dedicated frame grabber for a more reliable native-resolution result.
Is there a way to get frame-by-frame precision in QuickTime?
QuickTime's arrow key nudging gets close but isn't true frame-by-frame stepping. For exact frame precision, VLC's dedicated frame-stepping controls are more reliable.
Can I use this method on an old video file with an unusual format?
If QuickTime won't open the file at all, try VLC instead, since it supports a significantly broader range of video formats and codecs out of the box.