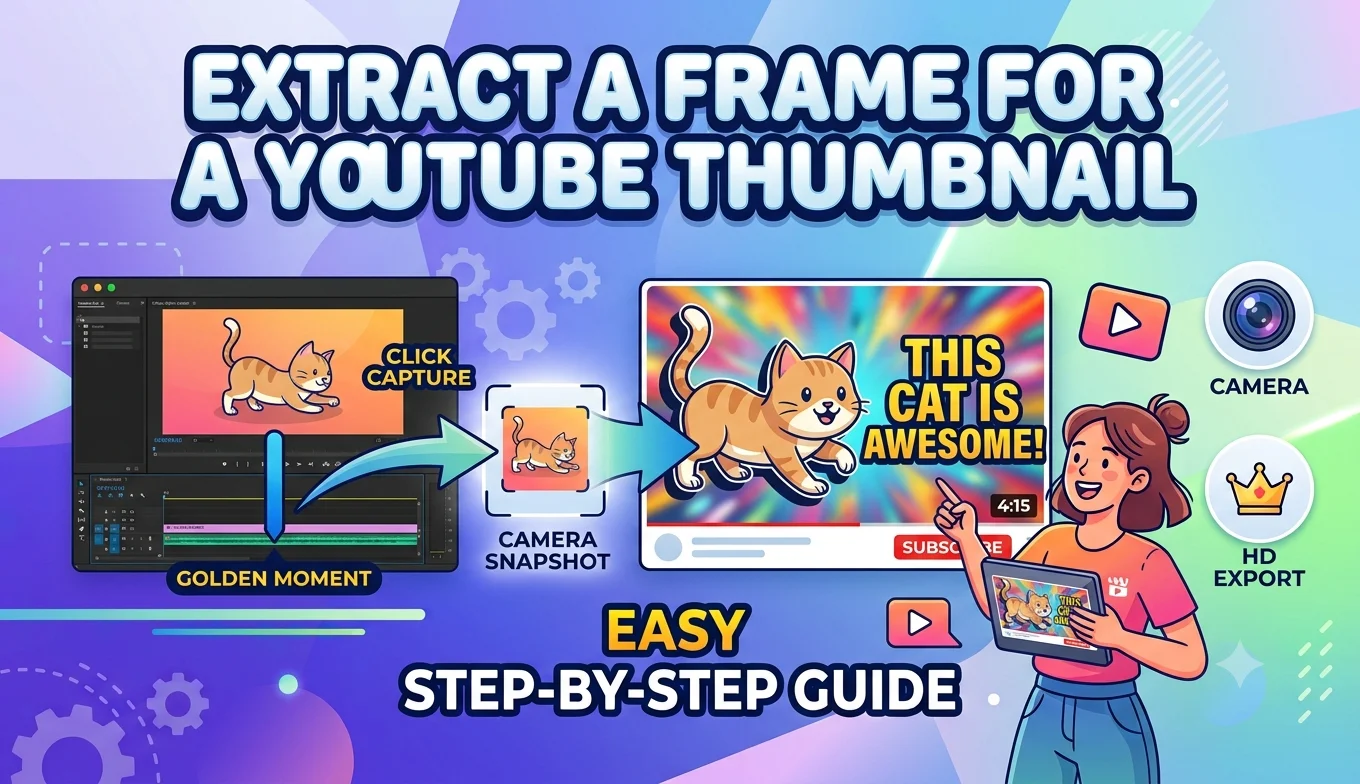
How to Extract a Frame for a YouTube Thumbnail
You can extract a frame for a YouTube thumbnail by scrubbing through your video for a clear, expressive moment, capturing it at the highest available resolution, and cropping it to YouTube's recommended 16:9 thumbnail dimensions.
A strong thumbnail is one of the biggest factors in whether someone clicks your video, and a well-chosen frame from your own footage often performs just as well as a custom-designed graphic, especially for tutorial, vlog, or reaction-style content. This guide covers the full process, from finding the right moment to preparing the file exactly the way YouTube expects it.
Why use an extracted frame instead of a custom-designed thumbnail
Custom graphic thumbnails work well for many channels, but an extracted frame has real advantages in certain situations:
- Authenticity. A genuine moment from the video can build more trust than an obviously staged graphic, especially for vlogs, tutorials, or personal content.
- Speed. Extracting a frame takes minutes, while designing a custom graphic thumbnail can take considerably longer.
- Accuracy. Viewers see exactly what the video actually contains, which can reduce click-through from people expecting something different than what they get.
Find a strong candidate moment
- Why use an extracted frame instead of a custom-designed thumbnail
- Find a strong candidate moment
- Set your video to the highest available quality
- Extract the frame
- From your original video file
- From the uploaded YouTube video
- Check YouTube's thumbnail requirements
- Crop and adjust the frame
- Adding text or graphics to your extracted frame
- Common mistakes to avoid
- Testing which extracted frame performs best
- Conclusion
- FAQ
Scrub through your video looking for a frame with these qualities:
- Clear facial expression, if a person is in the shot surprise, excitement, or focus tend to perform well as thumbnails
- Minimal blur, since thumbnails are often viewed at a small size where any softness becomes even more noticeable
- Good contrast and lighting, so the thumbnail stands out in a crowded list of video results
- Enough open space for adding text overlay later, if that's part of your thumbnail style
It often helps to scrub through at a faster playback speed first to get a general sense of good candidate moments, then slow down and step frame by frame once you've narrowed it down.
- How to Make a GIF from a Video Clip for Free
- How to Capture Video Frames Using Windows Photos App
- Best Free vs Paid Frame Grabber Tools Compared
Set your video to the highest available quality
If you're extracting from a video already uploaded to YouTube, make sure the player is set to its highest resolution before capturing this directly affects how sharp your final thumbnail looks, especially since thumbnails get displayed at various sizes across search results, suggested videos, and mobile screens.
If you're extracting from your original local footage rather than the uploaded version, use that original file whenever possible, since it hasn't gone through YouTube's compression yet and will generally be sharper.
Extract the frame
From your original video file
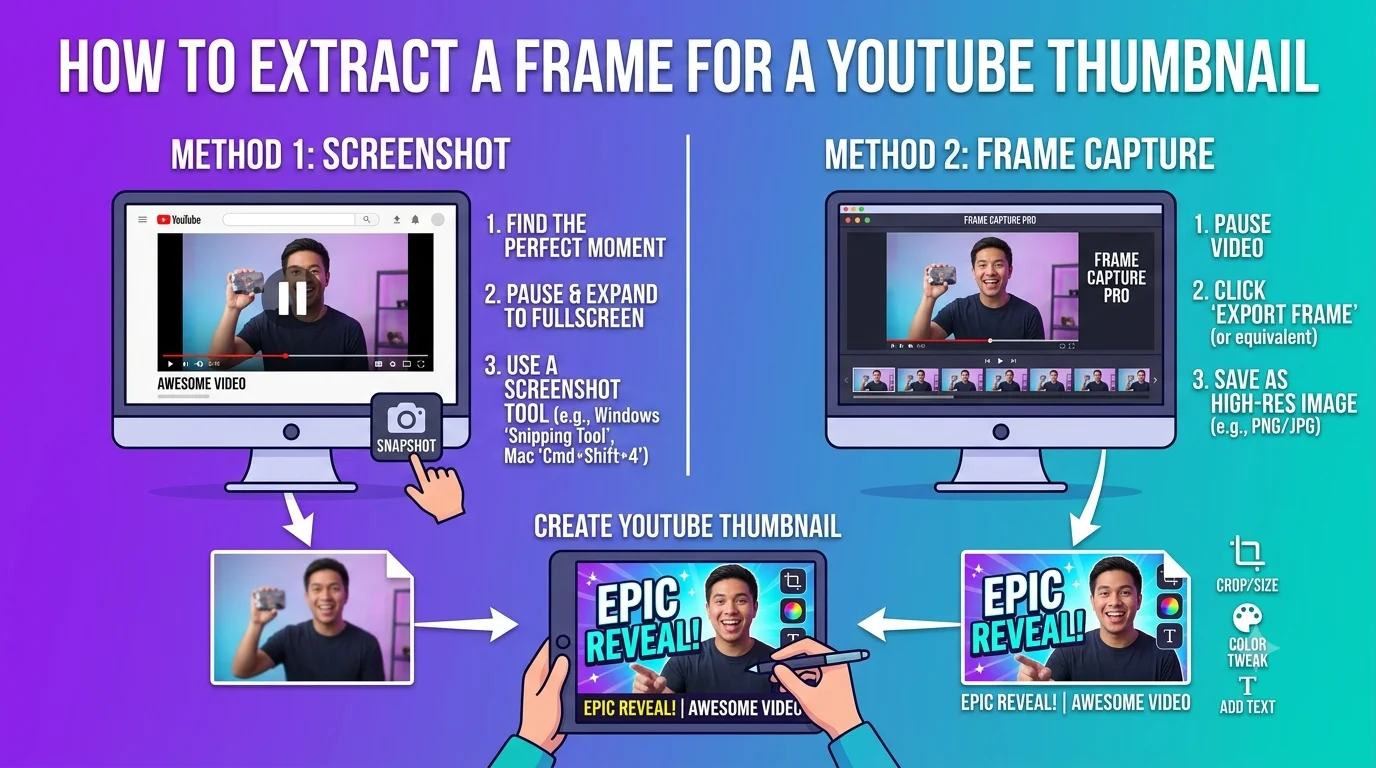
Open the file in a media player like VLC, pause at your chosen moment, and use the built-in snapshot feature to save the frame as an image.
From the uploaded YouTube video
Copy the video's link, paste it into an online frame grabber, scrub to your chosen timestamp, and download the frame.
Check YouTube's thumbnail requirements
YouTube's recommended thumbnail specifications are:
- Resolution: 1280 x 720 pixels minimum
- Aspect ratio: 16:9, matching the standard video player width
- File size: under 2MB
- Format: JPG, GIF, PNG, or BMP
Your extracted frame needs to be cropped and, if necessary, resized to match this exact aspect ratio, since YouTube will crop or letterbox an image that doesn't already fit 16:9.
- How to Save a Frame from an Instagram Reel
- How to Extract High-Quality Frames from 4K YouTube Videos
- Frame Rate Explained: 24fps vs 30fps vs 60fps
Crop and adjust the frame
- Open your extracted frame in any photo editor.
- Set a custom crop ratio of 16:9.
- Position the crop so your key subject or expression stays clearly visible and not cut off at the edges.
- Adjust brightness or contrast slightly if the frame looks a little flat, which is common with footage that was color-graded for video playback rather than as a standalone still image.
- Export as a JPG or PNG under the 2MB limit.
Adding text or graphics to your extracted frame
Many successful thumbnails combine an extracted frame with a short text overlay a few bold words that add context or curiosity beyond what the image alone conveys. If you plan to add text:
Recommended Articles
 CREATIVE USE CASES
 CREATIVE USE CASES
 CREATIVE USE CASES
- Choose a frame with a simpler area of background where text won't compete visually with the main subject
- Keep text short, since thumbnails are viewed at a small size, especially on mobile
- Use high-contrast text colors against the frame's background so it stays readable at a glance
Common mistakes to avoid
Using a blurry or motion-heavy frame. Motion blur that looks fine during playback becomes very obvious in a still thumbnail, especially once cropped and displayed small always double-check your chosen frame at full size before finalizing it.
Ignoring the 16:9 crop until the last step. Composing your thumbnail crop early, rather than as an afterthought, helps make sure your key subject isn't accidentally cut off by the aspect ratio adjustment.
Extracting from a low-quality re-upload. If your video exists both as an original file and as a version that's been re-compressed or re-uploaded elsewhere, always extract from the highest-quality version available.
Forgetting to check file size before uploading. YouTube's 2MB limit is easy to exceed with a high-resolution PNG compressing to a JPG at reasonable quality settings usually solves this without a noticeable quality loss.
Testing which extracted frame performs best
If you're unsure between a couple of strong candidate frames, some channels test different thumbnails after publishing to see which one earns a better click-through rate, then keep the stronger performer. This isn't necessary for every video, but it's a useful option for channels where thumbnail performance meaningfully affects overall views.
Conclusion
A well-chosen extracted frame can work just as well as a custom-designed thumbnail, especially when it captures a clear, authentic moment with good lighting and minimal blur. The process comes down to finding a strong candidate, extracting it at the highest available quality, and cropping it precisely to YouTube's 16:9 format small details like checking file size and avoiding motion blur make the difference between a thumbnail that looks polished and one that looks like an afterthought.
FAQ
What size should a YouTube thumbnail be?
YouTube recommends a minimum of 1280 by 720 pixels, in a 16:9 aspect ratio, with a file size under 2MB.
Can I use a frame from my video without any editing at all?
Technically yes, but cropping to the correct 16:9 ratio and checking the file size against YouTube's limit are almost always necessary steps, even for a minimal, no-frills thumbnail.
Why does my thumbnail look blurry once uploaded even though the frame looked sharp?
This is usually because the source frame was extracted at a lower resolution than YouTube's recommended size, or because of over-compression when exporting the file extracting from your highest-quality source video and exporting as JPG at good quality settings resolves this in most cases.
Should I add text to an extracted frame thumbnail?
It depends on your content style text overlays can add context and improve click-through for some formats, like tutorials or listicles, while a clean, unedited frame can work better for vlog-style or highly visual content.
Can I extract a thumbnail frame from a video before uploading it to YouTube?
Yes, and this is often the better approach, since you can extract from your original, uncompressed footage before it goes through YouTube's own compression during upload.