How to Take a Screenshot on Mac (Every Shortcut Explained)
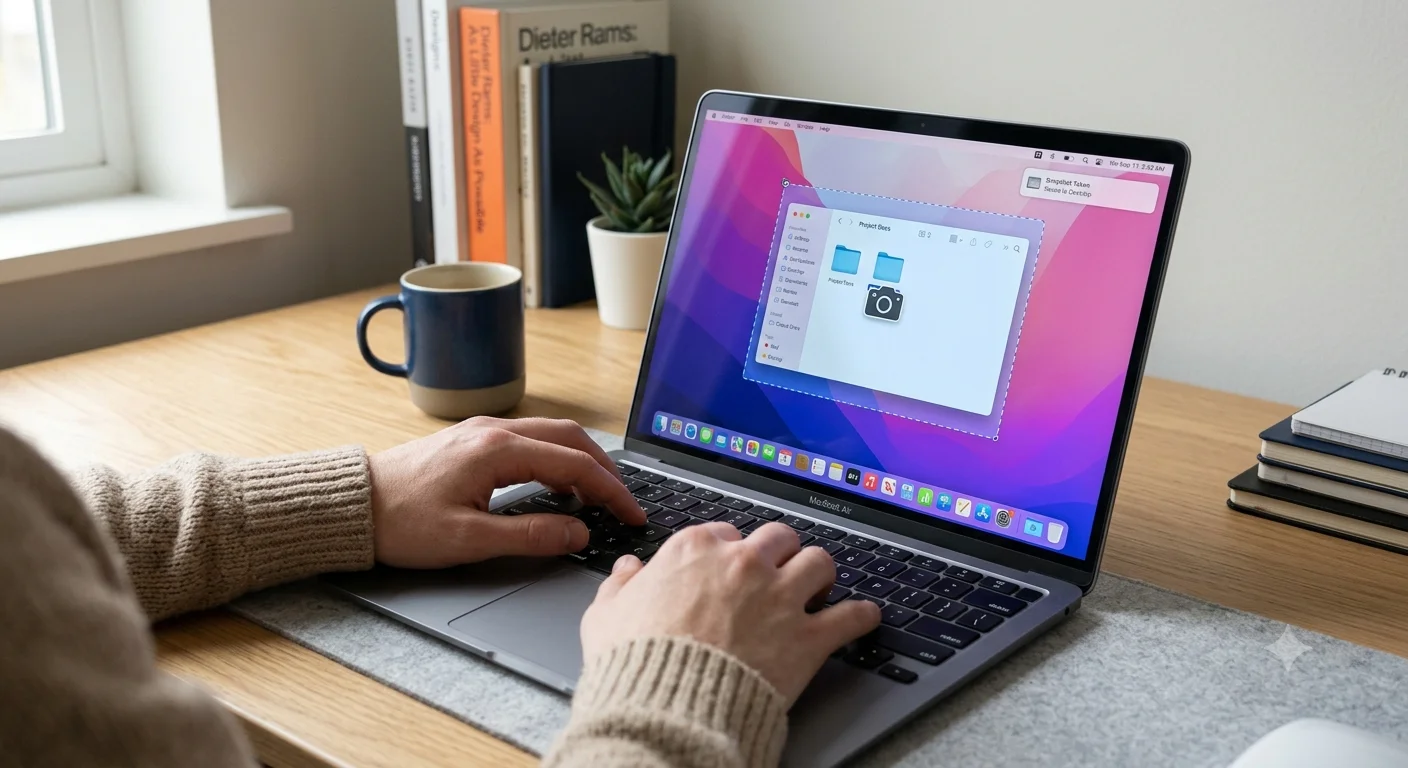
The main screenshot shortcut on Mac is Shift, Command, and 5, which opens a small toolbar letting you choose exactly what to capture and how, without needing to memorize a separate shortcut for every situation.
Mac actually offers several screenshot shortcuts depending on what you want to capture, each saving to a slightly different place or format. This guide covers every method, plus where your screenshots end up and how to fix the most common issues people run into.
Method 1: Shift + Command + 5 (the modern all-in-one option)
This is the most flexible shortcut and the one worth remembering above all others.
- Press Shift, Command, and 5 together.
- A small toolbar appears at the bottom of your screen with options for capturing the entire screen, a selected window, or a custom selected area, plus options for screen recording.
- Choose your capture type, then click or drag to select what you want.
- The screenshot saves automatically, and a thumbnail briefly appears in the corner of your screen click it to annotate or trim before it disappears, or let it save automatically if you don't need to edit it.
This toolbar also lets you change where screenshots are saved and whether the cursor is included, all from the Options menu within the same toolbar.
Method 2: Shift + Command + 3 (full screen, quick capture)
- Method 1: Shift + Command + 5 (the modern all-in-one option)
- Method 2: Shift + Command + 3 (full screen, quick capture)
- Method 3: Shift + Command + 4 (custom area selection)
- Method 4: Shift + Command + 4, then Space bar (capture a specific window)
- Where do Mac screenshots get saved?
- Capturing the Touch Bar (older MacBook Pro models)
- Taking a screenshot with a timer or delay
- Recording your screen instead of a still image
- Common issues and fixes
- Quick shortcut reference
- Conclusion
- FAQ
Press these three keys together to instantly capture your entire screen with no toolbar or selection step. This is the fastest option when you already know you want the whole screen and don't need to choose an area.
- How to Extract High-Quality Frames from 4K YouTube Videos
- Frame Rate Explained: 24fps vs 30fps vs 60fps
Method 3: Shift + Command + 4 (custom area selection)
Press these keys to get a crosshair cursor, then click and drag to select exactly the area you want to capture. Release to take the screenshot of just that selection. This is one of the most commonly used Mac screenshot shortcuts since it covers most everyday needs without extra steps.
While dragging, you can hold the Space bar to move your selection around before releasing, which is handy if you started the drag in the wrong spot.
Method 4: Shift + Command + 4, then Space bar (capture a specific window)
After pressing Shift, Command, and 4, tap the Space bar once. Your cursor turns into a small camera icon, and hovering over any open window highlights it. Click while a window is highlighted to capture just that window, complete with a subtle drop shadow, without needing to manually crop out the rest of your desktop.
Where do Mac screenshots get saved?
By default, all Mac screenshots save directly to your Desktop as PNG files, named with the date and time they were taken. If your Desktop is getting cluttered with screenshots, you can change the save location:
- Press Shift, Command, and 5 to open the toolbar.
- Click Options.
- Choose a different save location from the list, such as Documents, Clipboard, or a custom folder.
Choosing Clipboard instead of a folder means the screenshot copies directly for pasting, without creating a file at all useful if you only need to paste it once into an email or document.
Capturing the Touch Bar (older MacBook Pro models)
If your Mac has a Touch Bar, Shift, Command, and 6 captures whatever is currently displayed on it, saving as a separate screenshot the same way as the other methods.
Recommended Articles
 SCREENSHOTS BY DEVICE
 SCREENSHOTS BY DEVICE
- How to Turn a Video Frame Into a Wallpaper
- 7 Best Free Frame Grabber Tools in 2026
- How to Extract Frames Using FFmpeg
Taking a screenshot with a timer or delay
The Shift + Command + 5 toolbar includes a Timer option under the Options menu, letting you set a 5 or 10 second delay before the capture happens. This is useful for opening a menu, hovering over a tooltip, or getting into position before the screenshot triggers.
Recording your screen instead of a still image
The same Shift + Command + 5 toolbar also includes two recording options full screen or a selected portion for anyone who needs a short video rather than a still image, which is useful if you plan to extract multiple frames from a moment rather than just one.
Common issues and fixes
My screenshot shortcuts aren't working at all. Check System Settings under Keyboard, then Keyboard Shortcuts, and confirm Screenshots haven't been disabled or reassigned to different keys, which can happen after a system update or if another app has claimed the same shortcut.
I can't find my saved screenshots. Check your Desktop first, since that's the default location, then check System Settings if you suspect the save location was changed previously through the Options menu.
The screenshot includes a black box over part of the video. This happens with DRM-protected video content, such as certain streaming services, which block screenshots of protected playback as a built-in copy-protection measure. This isn't something any screenshot shortcut can bypass.
My cursor shows up in every screenshot and I don't want it to. Open the Options menu within the Shift + Command + 5 toolbar and make sure "Show Mouse Pointer" is unchecked.
Screenshots are taking up too much storage. Since Mac saves screenshots as uncompressed PNG files by default, they can add up quickly if you take a lot of them. Periodically clearing out your Desktop or changing the file format to JPG in Terminal settings (a more advanced option) can help manage this.
Quick shortcut reference
| Shortcut | What it captures |
|---|---|
| Shift + Command + 5 | Opens the full toolbar with all options |
| Shift + Command + 3 | Entire screen, instantly |
| Shift + Command + 4 | Custom selected area |
| Shift + Command + 4, then Space | A specific window |
| Shift + Command + 6 | The Touch Bar, on supported models |
Conclusion
Mac gives you a genuinely flexible set of screenshot shortcuts, and Shift + Command + 5 covers nearly every situation on its own thanks to its built-in toolbar for screen selection, window capture, timers, and recording. For quick one-off captures, Shift + Command + 3 and Shift + Command + 4 remain the fastest muscle-memory shortcuts once you've used them a few times.
FAQ
What is the main screenshot shortcut on Mac?
Shift, Command, and 5 opens the full toolbar with every capture option in one place, making it the most versatile shortcut to learn first.
Where are Mac screenshots saved by default?
Directly to the Desktop as PNG files, unless you've changed the save location through the Options menu in the screenshot toolbar.
How do I screenshot just one window on Mac without the background?
Press Shift, Command, and 4, then tap the Space bar, then click on the window you want this captures just that window with a clean edge.
Can I take a scrolling screenshot on Mac?
Not with the built-in shortcuts they only capture what's currently visible on screen. A full-page scrolling capture requires a separate third-party tool.
Why does my screenshot look blurry compared to what I saw on screen?
This is usually a display scaling setting rather than an actual quality loss check that you're viewing the screenshot at its actual size (100%) rather than a zoomed-out preview in a file browser or Finder thumbnail.