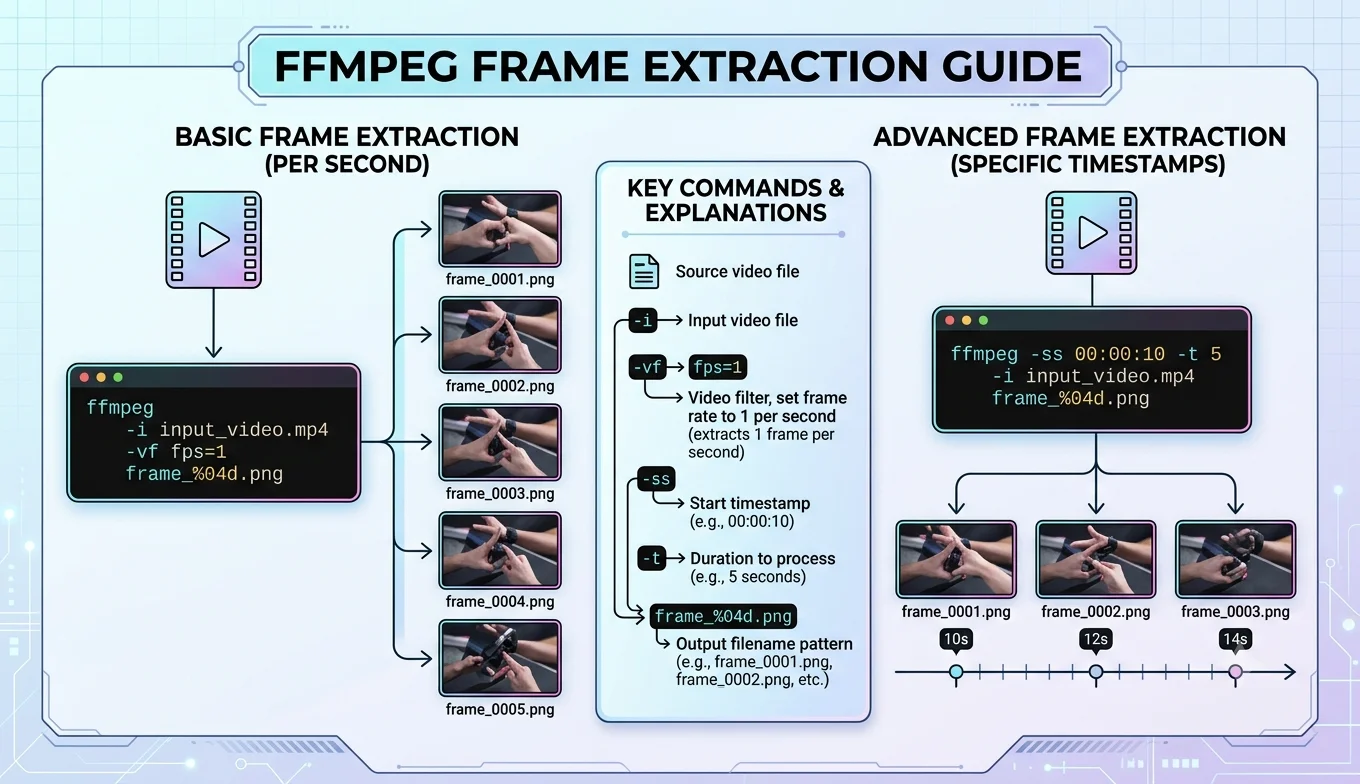
How to Extract Frames Using FFmpeg (Step-by-Step for Beginners)
FFmpeg is a free, command-line tool that can extract frames from any video with precise control over timing, quality, and output format, and it runs on Windows, Mac, and Linux.
It has a reputation for being intimidating because it's entirely text-based, with no visual interface, but the core commands for frame extraction are short and easy to remember once you've done it a couple of times. This guide walks through installation, the exact commands to use, and the mistakes beginners run into most often.
Why use FFmpeg instead of a visual tool
FFmpeg trades a graphical interface for precision and automation. A few things it does better than click-based tools:
- Exact timestamp control, down to fractions of a second
- Consistent, repeatable results, the same command always produces the same output, useful if you're processing many videos the same way
- No file size limits since everything runs locally on your own computer
- Full control over output quality and format, including resizing frames during extraction
The tradeoff is a small learning curve up front, which this guide is designed to smooth out.
Installing FFmpeg
Windows
Download the official Windows build from the FFmpeg project's website, extract the folder, and add the location of the executable to your system's PATH so you can run it from any folder. There are also simpler installer packages available if you'd rather avoid manual PATH configuration.
Mac
The easiest method is installing through Homebrew, a popular package manager for Mac. Once Homebrew itself is installed, a single install command sets up FFmpeg completely.
Linux
Most Linux distributions include FFmpeg in their standard package repositories, so it can usually be installed directly through your distribution's normal package manager with one command.
Extracting a single frame at an exact timestamp
Once installed, open your terminal or command prompt, navigate to the folder containing your video, and run a command that tells FFmpeg three things: the input video, the exact timestamp you want, and the output filename for the extracted image.
The general structure is: specify the input file, specify the timestamp to seek to, tell it you only want one frame, and give it an output filename ending in .png or .jpg.
This produces a single still image at exactly the timestamp you specified far more precise than trying to pause a video player at the right split second.
Extracting frames at regular intervals
If you need multiple frames spaced evenly throughout a video for a storyboard, thumbnail selection, or dataset FFmpeg can do this in a single command using a frame-rate option that tells it how often to grab a frame, rather than extracting every single frame in the video.
For example, you can set it to grab one frame every few seconds throughout the entire video, and FFmpeg will automatically number each output file sequentially so they stay in order.
Extracting every single frame
For cases where you genuinely need every frame in a video useful for detailed frame-by-frame analysis or building an animation FFmpeg can output the complete sequence, though this can produce an enormous number of image files even for a short clip, so it's worth confirming that's really what you need before running it on a long video.
Controlling output quality and size
FFmpeg lets you set the resolution of extracted frames directly in the command, either matching the source video exactly or scaling it down for smaller file sizes. You can also choose between PNG for lossless quality and JPG for smaller, compressed files, depending on whether you plan to edit the frame further or just use it as-is.
Recommended Articles
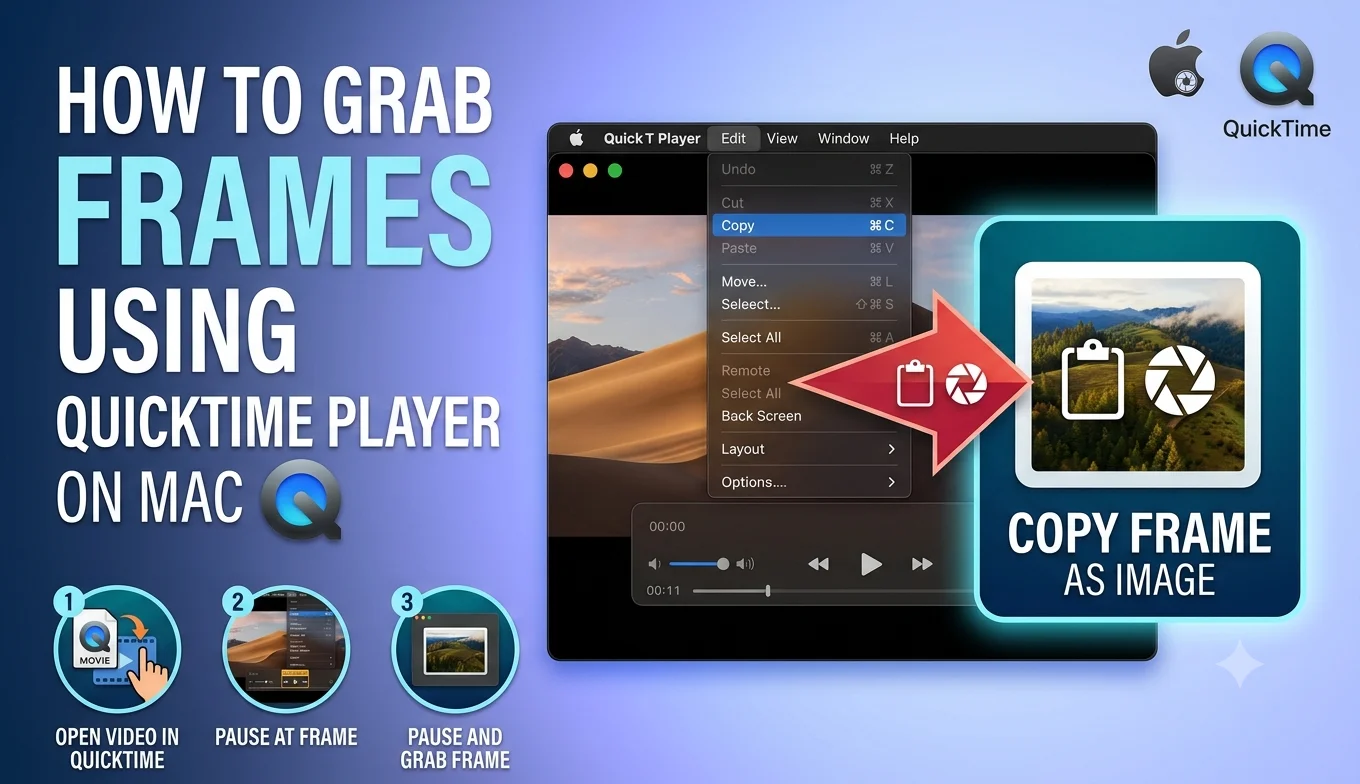 SOFTWARE TUTORIALS
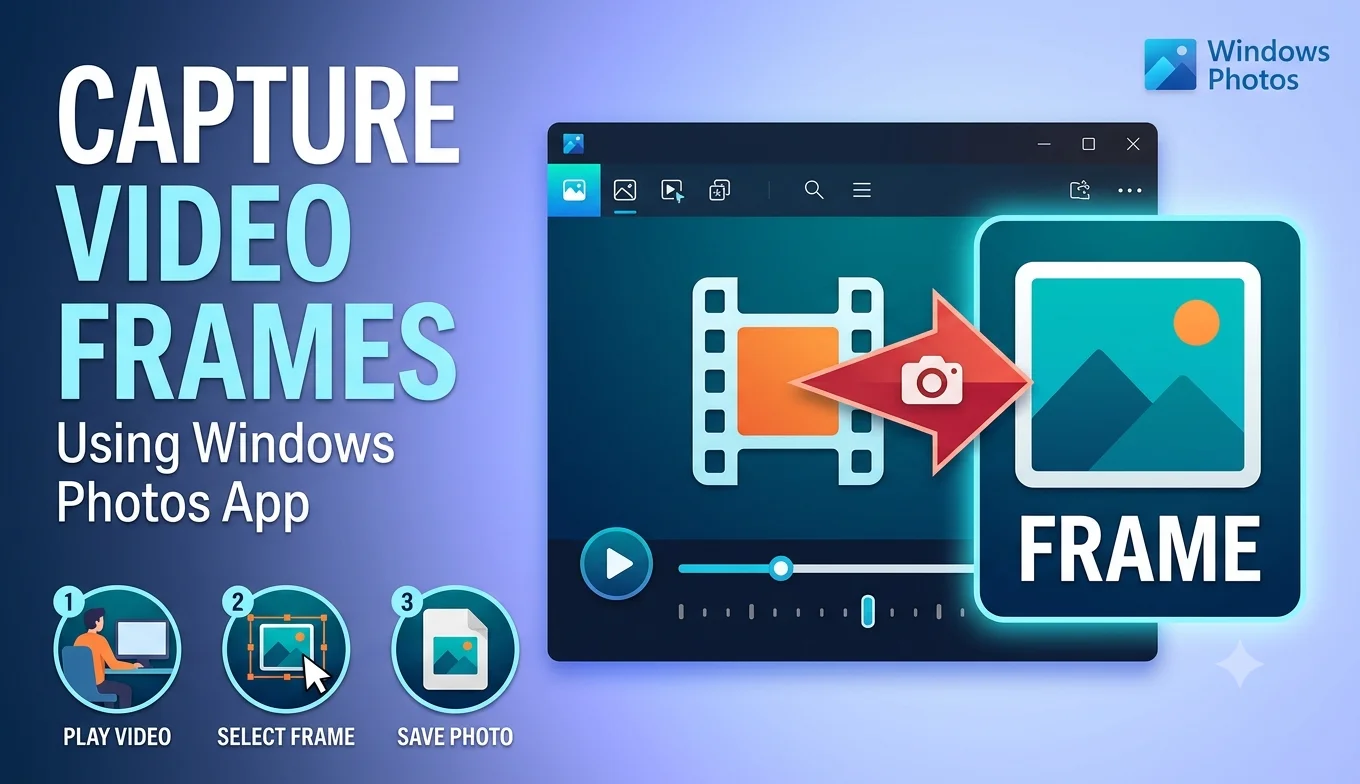 SOFTWARE TUTORIALS
SOFTWARE TUTORIALS
SOFTWARE TUTORIALS
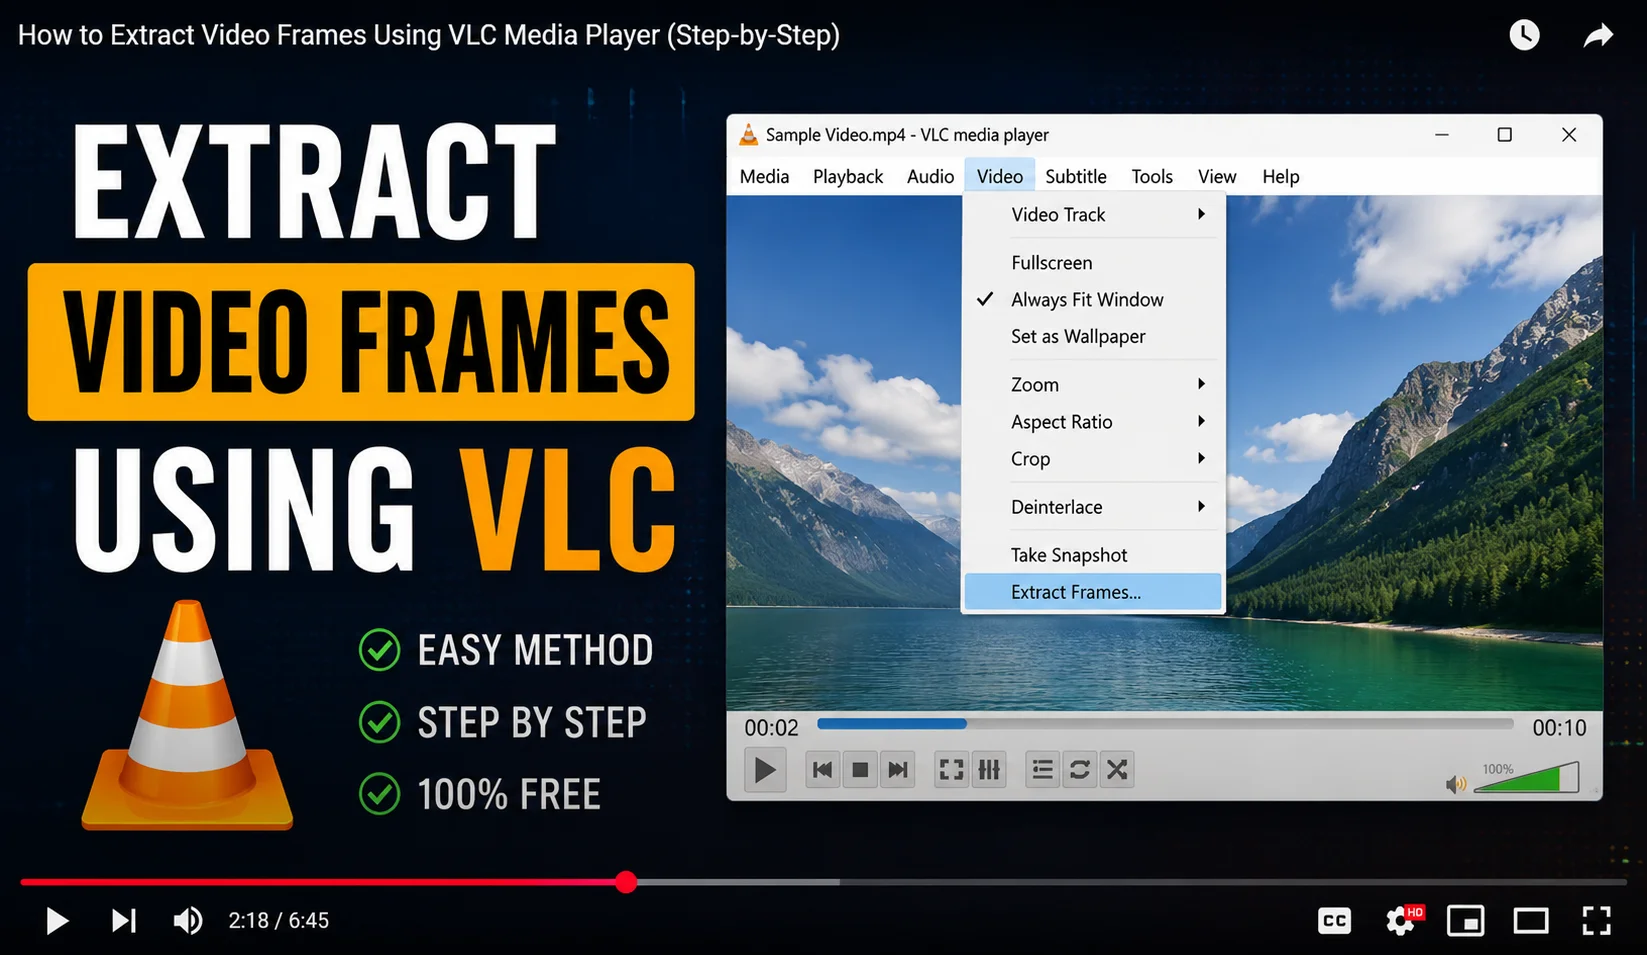 SOFTWARE TUTORIALS
Common beginner mistakes
Running the command from the wrong folder. FFmpeg looks for your input video in whatever folder your terminal is currently pointed at. If you get a "file not found" style error, double-check you've navigated to the correct folder first, or that you've typed the full path to the video.
Typos in the timestamp format. Timestamps need to follow a consistent hours:minutes:seconds structure an extra or missing colon is one of the most common reasons a command fails to produce the expected frame.
Extracting way more frames than intended. Forgetting to set an interval will cause FFmpeg to extract every single frame in the video by default, which can fill a folder with thousands of images from just a few minutes of footage. Always double-check your interval setting before running a command on a long video.
Overwriting files without meaning to. If you run the same extraction command twice with the same output filename, FFmpeg will typically ask before overwriting, but it's easy to miss this in a terminal use a unique filename or folder each time you experiment.
Command not recognized errors. This almost always means FFmpeg wasn't added to your system's PATH correctly during installation. Reinstalling with the PATH option checked, or manually adding the install folder to PATH, resolves this in most cases.
Tips for getting clean results
- Test on a short clip first before running a bulk extraction command on a long video, so you can confirm the interval and quality settings look right.
- Use PNG for anything you'll edit further, since JPG compression can introduce subtle quality loss with repeated saves.
- Keep extracted frames organized in their own folder per video, since bulk extraction can produce hundreds of similarly named files quickly.
- Check your source video's actual frame rate first if you want one frame per second this affects how you calculate the right interval setting.
Conclusion
FFmpeg looks intimidating at first glance because it's entirely command-based, but frame extraction really only requires a handful of short commands: one for a single exact-timestamp frame, one for evenly spaced intervals, and one for every frame in a video. Once installed correctly, it's one of the most precise and fully free ways to pull frames from any video, with far more control than most visual tools offer.
FAQ
Is FFmpeg really free with no limitations?
Yes, FFmpeg is completely free and open-source, with no watermarks, file size caps, or feature restrictions of any kind.
Do I need programming experience to use FFmpeg?
No typing a command into a terminal isn't the same as programming. The commands for frame extraction are short, and copying a working example and adjusting the filename and timestamp is enough for most people's needs.
Why does FFmpeg say the command isn't recognized?
This means FFmpeg isn't properly added to your system's PATH. Reinstalling and making sure the PATH option is selected, or manually adding the installation folder to your PATH settings, fixes this.
Can FFmpeg extract frames from an online video link directly?
FFmpeg can work with some direct video stream links, but for most everyday online videos it's simpler to download the video first, then extract frames from the local file.
What's the difference between extracting one frame per second and every frame?
One frame per second gives you a manageable, evenly spaced sample of the video, while extracting every frame captures the full frame rate for a 30fps video, that's 30 separate images for every single second of footage.